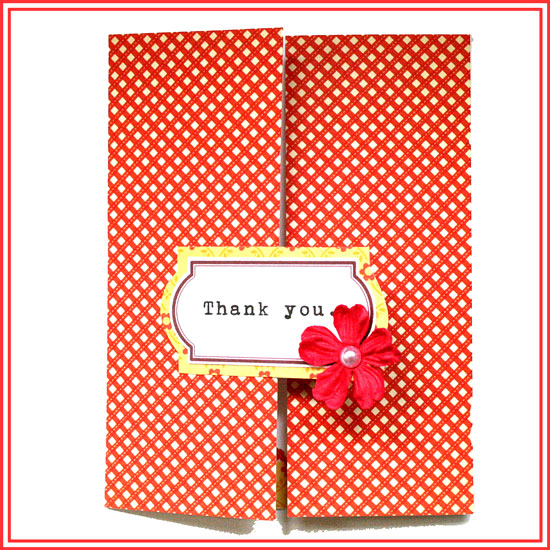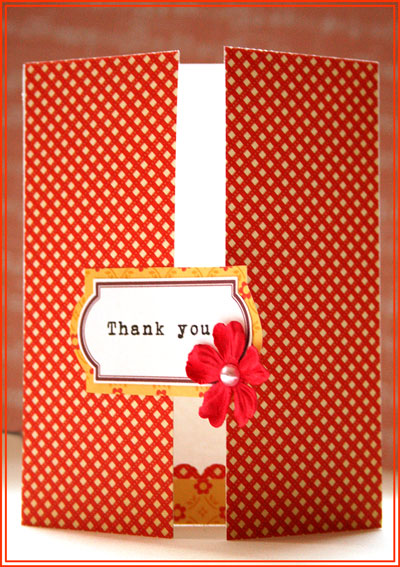
I caved in. I admit it.
I thought a scoring board is redundant. Unnecessary.
But I bought one anyway…
…and i LOVE it!!!
When I buy new patterned paper, I usually store it immediately in my very own papers’ necropolis. However, when I buy new tools – I usually try them right away (sometimes they’re getting buried too). Same happened here, as soon as I got Martha Stewart’s scoring board I had an urge to score me some cards – it was so easy, so addictive.
So here I am, living with a small stack of blank, prescored cards and not doing anything with them. For a couple day. Then came the epiphany – use a journaling label for the greeting!
Simple. Easy. Striking. (If you don’t mind me sayin’…)

Step By Step Instructions
- Cut your cardstock base at 8½” by 5½”. Score at 2 1/8″ and at 6 3/8″.
- Cut 2 panels of patterned paper, 5½” by 2 1/8″ each. I used Cosmo Crickt’s 6″ by 6″ Material Girl paper pad.
- Adhere the above panels to the panels at the front of the card.
- To print on the journaling label, I first printed the greeting on a plain paper (Erika Ormig font, 60Pt.) Then I adhered the label with removable adhesive to the plain paper, on top of the greeting and ran it through the printer again. [This specific labels set will be posted on the blog on Friday, so stay tuned]
- I adhered the printed label on another piece of patterned paper from the same pad and cut around it, leaving a nice fat gap. I used Fiskars spring-action scissors for that. They are very easy to manipulate around the curves.
- I applied adhesive to only half of the greeting “tag” and adhered it to the left panel – centering it between the two panels.
- Then I stuck on a Prima flower and a pearl and called it a happy day.
Share
Have you bought a cool tool lately? What is your favorite tool? Please share – I want to know 🙂

Check out Creativity Prompt’s self paced workshop: “Capture Your Dream”. In this workshop you will capture, follow and make your dream come true as well as document your journey in a mixed media mini album.


