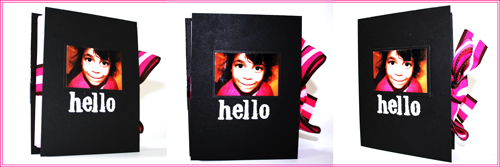
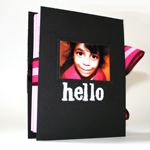
This week’s project is also quick and easy to put together. You decide how much time you want to spend embellishing each page later on…
All you need is a bunch of envelopes, 2 pieces of chipboard and a long piece of ribbon. Pretty straightforward.
You can take your time and decorate each page individually, or just adhere a photo on the back of each envelope and insert your journaling in each corresponding envelope. The sky is the limit for you.
Tools & Supply
- Paper trimmer (mine can cut through chipboard)
- Scissors
- Chipboard
- Ribbon
- Envelopes (each brand/ size/ style will do)
- cardstock
- Strong double sided tape
- packaging tape
How To
Watch on You Tube
[Music by Kevin MacLeod with permission]
Step By Step Instructions
- Cut 2 pieces of chipboard – ½” taller and wider than your envelopes.
- Stick a strong double sided tape at the center of each chipboard piece. You can use the markings of your cutting mat for easy alignment.
- Adhere your ribbon to both pieces of chipboard, while leaving a ½” gap between them.
- Adhere each envelope to the next at the base with plain packaging/wrapping tape. Make sure you keep the orientation of the envelopes.
- Cut the excess tape off the sides of the envelopes stack.
- Adhere the envelopes stack to the chipboard with some more strong double sided tape.
- Cut the envelope inserts out of cardstock. Make them ½” shorter and narrower than your envelopes.
- Insert a piece of cardstock into each envelope.
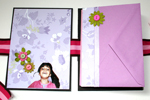
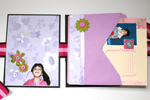
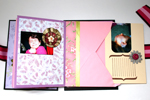
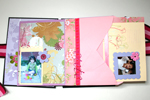
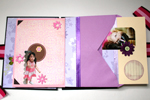
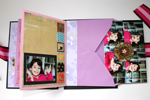
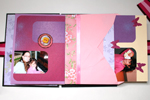
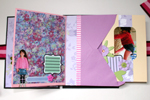
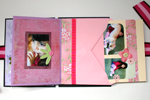
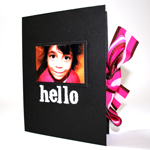
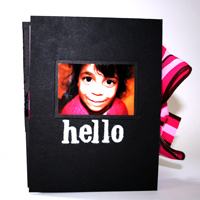
- Embellish and… Voilà !
Share
If you have any question, suggestion or remark – don’t hesitate to contact me – either leave a comment here, use the contact form or start a new thread on the Creativity Prompt Flickr Group!!!
I would also be very happy to see your own creations, so don’t be shy and share 🙂


