/** Font types */

Posts Tagged ‘creativity prompt’

Creativity Prompt #23 – Cards & Envelopes Set

Friday, October 31st, 2008

Cards & Envelopes Set

Many of my most cherished creations are a result of a blunder of some sort. After I pass the self bashing stage I try to make something out of the error and sometimes the result is far better than what I have originally planned to do.

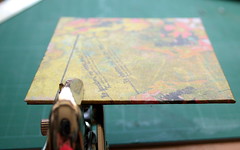
Last week I have posted a tutorial on making a mini album out of a single sheet of cardstock. The process of making this mini album involves alternating cutting lines. I was trying to use the paper trimmer for the cutting and got confused and mistakenly cut the cardstock in the same direction.

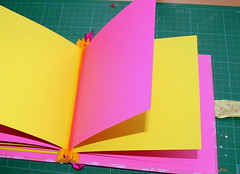
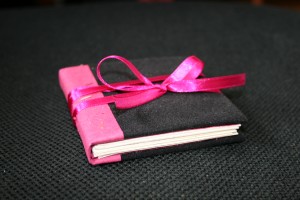
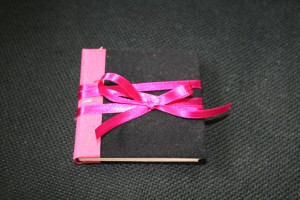
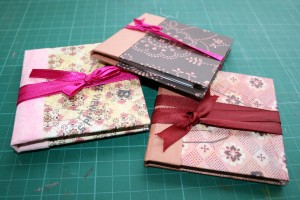
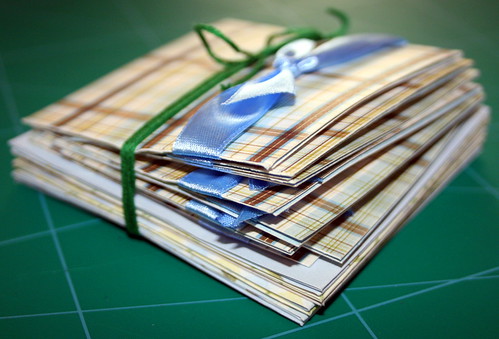
Following my mistake the muse came to visit… I decided to make a bunch of 3″ by 3″ cards instead and also created a matching Envelope Template.

So, without further ado, here is the tutorial:

Supply –

Instructions –

  1. Cut the cardstock into 4 strips of 3″ by 12″ and then cut each strip in half to two pieces of 3″ by 6″ cardstock. Fold each piece in half, lengthwise, to create a cute 3″ by 3″ card. You will end up with 8 cards from the single sheet of cardstock.
  2. Use a craft knife to cut a ¾” slit into each card’s spine and weave the ribbon through. Tie the ribbon into a square knot and repeat on each card. [You are completely free to embellish the card in whichever way you wish… Don’t feel obligated to the ribbon, it won’t be offended – neither will I 😉 ]
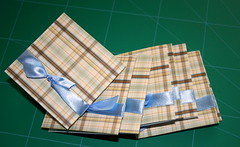
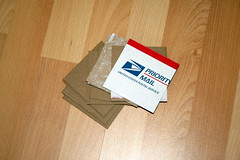
    Making the card
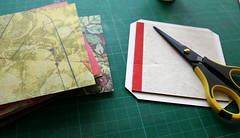
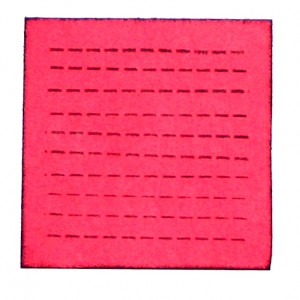
  3. Download the free envelope template and print it on a letter size paper (8.5″ by 11″). Cut the outline of the template. [You can either print it directly on the backside of the patterned paper or on a copy paper, which you can then cut and trace over the patterned paper – your choice].
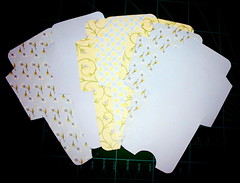
    Cutting the patterned paper for the envelopes
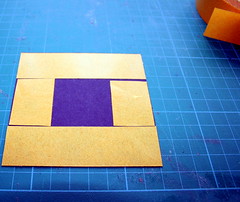
  4. Score along all the dashed lines of the template and fold. Adhere the long flap to the small side-flaps with a tape runner (or a glue stick, if you prefer…).
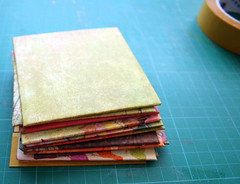
    The completed envelopes

Easy, fun and adorable – my kind of a craft project 🙂

Enjoy!!!

If you have any question, suggestion or remark – don’t hesitate to contact me – either leave a comment, use the contact form or start a new thread on the Creativity Prompt Flickr Group!!!

I would also be very happy to see your own creations, so don’t be shy and share 🙂
Creativity Prompt #22 – The “One-Sheet” Mini Album

Friday, October 24th, 2008

Multiple Mini Albums

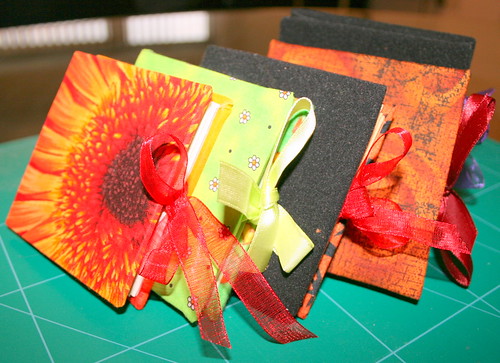
This week’s Creativity Prompt is to make a cute mini album, or journal – what ever you wish to use that for – using a single sheet of cardstock and a couple of chipboard squares (or recycled cardboard…). For a special touch I covered the chipboard squares with fabric, and it turned out fabulous 🙂

Supply –

Instruction –

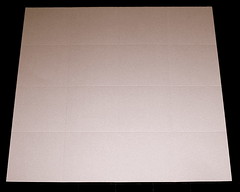
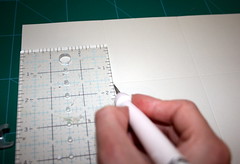
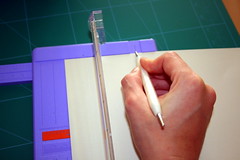
  1. Score the cardstock at: 3″, 6″ & 9″ (every 3″). I used a stylus for the scoring.
    Scoring with a stylus
  2. Flip the cardstock sideways and score it at: 3″, 6″ & 9″. You should end up with a grid of 3″ by 3″ scored squares.
    Scored grid
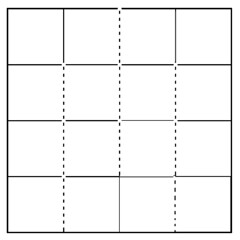
  3. Cut 9″ along the score lines of one side of the cardstock, alternating between cutting top to bottom and cutting bottom to top. The template below might help to understand it better:
    Cutting template
    Cutting along the score lines
  4. If you happen to cut the cardstock in the wrong direction (e.g. cutting from top to bottom consecutively) don’t worry. I had accidentally done that and created a great project out of it. Stay tuned for the instructions on next week’s Creativity Prompt!!!

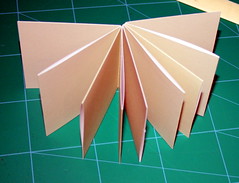
  5. Fold each score line in an accordion fold (once up and once down) until you are left with a 3″ by 3″ booklet.
    Folding along the score lines
    For making the little booklet sturdier, I adhered the inner pages on one side, using a tape runner (you can also use a glue stick, although it’s much messier).
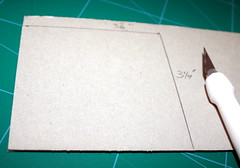
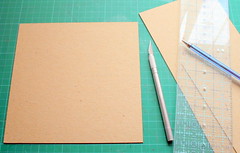
  6. Cut two chipboard squares at 3¼” by 3¼”.
    Cutting the chipboard cover
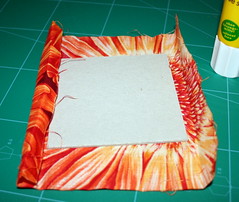
  7. Generously apply glue with your glue-stick to one side of the chipboard and adhere it to the center of the fabric strip.
    Adhering the fabric to the cover
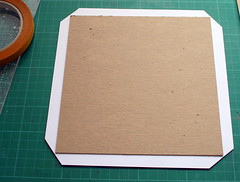
  8. Cut the corners of the fabric strip in an angle, and leave about a ¼” (or more) from the chipboard edge.
    Cutting the corners of the fabric for the cover
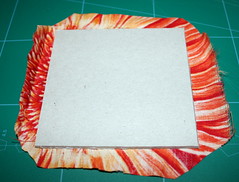
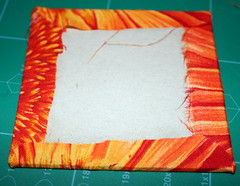
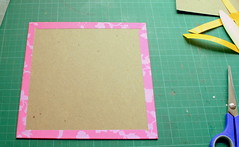
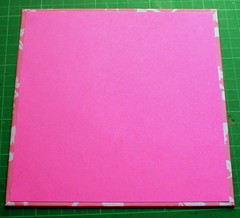
  9. Adhere the remaining fabric flaps to the chipboard with your glue stick. First adhere two flaps which are opposite to each other and then adhere the remaining two flaps, while tacking in the corners for a neat fold.
    Adhering the fabric flaps to the cover
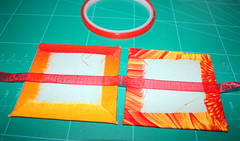
  10. Position the two covers, wrong side up, about ½” apart from each other. Apply a strip of a strong double sided tape to the middle of each cover and adhere the ribbon to it – while keeping the ½” gap. Make sure the ribbon is long enough to allow tying the mini-album in a nice bow.
    Attaching the ribbon to the covers
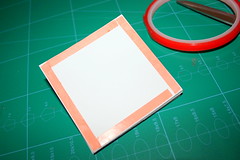
  11. Apply double sided tape to both sides of the mini booklet – make sure to cover all the edges.
    Adhering the cardstock booklet to the covers
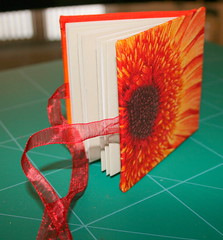
  12. Adhere the booklet to the inside of the cover and voilà!!!
    Finished mini album

Enjoy!!!

If you have any question, suggestion or remark – don’t hesitate to contact me – either leave a comment, use the contact form or start a new thread on the Creativity Prompt Flickr Group!!!

I would also be very happy to see your own creations, so don’t be shy and share 🙂
Creativity Prompt #21 – Making An Accordion Spine Album

Friday, October 17th, 2008

Accordion Spine Album

I love making my own albums and journals. Many times I use recycled materials along with some yummy patterned paper. If you are new to Creativity Prompt, you are welcome to have a look at the different album and journal tutorials I have posted so far:

Album Tutorials –

  1. Circular mini album.
  2. Guided album.
  3. Recycled mini album.
  4. Mini acrylic album.
  5. Circular Pocket album.
  6. Mini chipboard album.

Journal Tutorials –

  1. Hardbound journal. This journal acts as a base for any hardbound album or journal that I am doing.
  2. Matchbox journal.
  3. Tiny hardbound journal.

Now lets get to business and make an accordion spine album – just another fun way of keeping your heartfelt memories.

Materials & Tools –

How To –

  1. First cut the cover of the album out of your chipboard. You will need to cut 2 pieces, 7″ by 7″ each.

    Cutting the cover

  2. Next you need to cover each of the chipboard pieces with patterned paper.
    • Cut the patterned paper at 8.5″ by 8.5″.
    • Adhere the chipboard piece to the middle of the patterned paper with your glue stick.
    • Cut the corners of the patterned paper up to 1/8″ of the chipboard corners.
      Cutting the corners of the patterned paper
    • Adhere the edges of the patterned paper to the chipboard (you can use either the glue stick or a double sided tape). For crisp lines, use a bone folder and work each time with the flaps on the opposite sides.
      Covering the chipboard
  3. To finish up the cover’s look, adhere a 6¾” by 6¾” piece of cardstock on each of the chipboard pieces.
    Covering the inner side of the chipboard cover
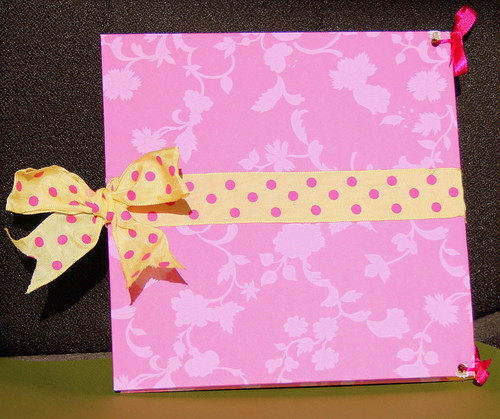
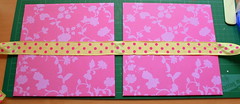
  4. Now it’s time to add on the ribbon. Position your chipboard covers one next to another with a gap (1″) between them. Put a strip of very strong double sided tape along the midsection of each chipboard piece and adhere the ribbon to it. Keep enough excess of the ribbon on each side for tying it nicely in a bow. Learning from my on experience, I suggest not to use a wire rimmed ribbon.
    Adhering the ribbon
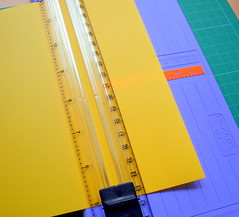
  5. For the spine you need a 10½” by 7″ piece of cardstock. Score it along the 10½” side at every ½”.

    Scoring the spine

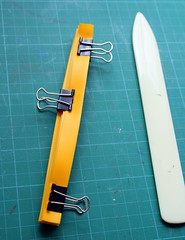
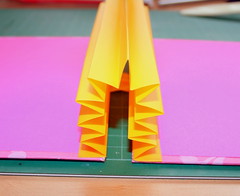
  6. Next you need to fold the cardstock on each score line in an accordion style – one fold up and one down. It is important to burnish each fold thoroughly with the bone folder. When you finish up folding the entire strip of cardstock, secure the spine with paper clips. If you have the time – let it rest like that for at least a day or so.

    Folding the spine

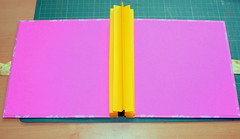
  7. Adhere the spine to the chipboard cover, in a way that creates a mountain fold between the cover and the spine and the other cover (which means the score line is turning outwards). I used a double sided tape for adhering the spine.

    Adhering the spine to the cover
    Closer look at the adhered spine

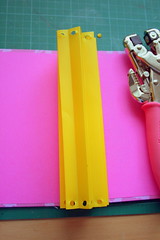
  8. To control the accordion spine, which tends to get a bit unruly… use your crop-a-dile to punch a hole all the way through it, both at the top and at the bottom of the spine.
    Make sure that you leave enough room for the album’s inserts to fit inside.
    It’s hard for the regular crop-a-dile to go through the spine and the two chipboard covers. So either use a craft drill (don’t forget to protect your cutting mat, when using the craft drill) or punch the spine and secure it with a ribbon before adhering the spine to the cover (that means doing steps 8-9 before step 7).
    Punching holes to secure the spine
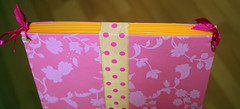
  9. Secure the spine by threading a ribbon or a strong thread through the holes and tying it in a knot on each side.

    securing the spine

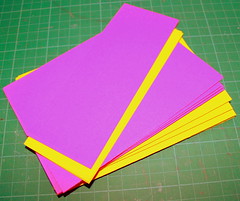
  10. Cut all your inserts from cardstock at 6¾” by 6¾” (and keep the leftovers for fast card making 🙂 ). I have used 9 inserts in two different colors – you can use as many colors as you wish or make it monochromatic.

    Cutting inserts

  11. Attach each insert to the spine by lining its edge with double sided tape and adhering it to the inside fold.

    Adhering the inserts to the spine

Share –

I really hope you’ve enjoyed this tutorial (along with all the others) and that the instructions are clear enough for you to go right into making your own mini album. If not, please feel free to ask any question by leaving a comment.

Please share your creation with us by posting a link as a comment here or by adding a picture to the Creativity Prompt Flickr Group.

Enjoy!!!

Creativity Prompt #19 – Make A Visual Life Coach

Friday, October 3rd, 2008
FREE Textures TO DOWLOAD - 1
Image by Pixmaniaque via Flickr

Still in a “the-beginning-of-a-new-year” mood and on the verge of yet another relocation to another country in another continent, I have come up with an idea for today’s creativity prompt.

As a very visual person I have realized the best way to reflect and plan my new year’s resolutions is by preparing a visual “life coach” or “life book”, if you so wish (more on naming the project later).

The visual life coach is actually a place for all the little components of your life – a place for self-reflection, a place to come to for inspiration, a place to jot down your aspirations, your goals and your wishes and follow up on them. Every single one of those component is an important building block, but only as a whole can you use these components to build yourself a life plan for the next year.

Your goals need the inspiration to get you going.
The aspirations need the wish list for maintenance…
Neither your goals nor your aspirations can be gathered and achieved without a bit of self-reflection.

Therefore, after I have established the way to make my resolutions stick, here is how I went about it (and am still going):

Step 1-
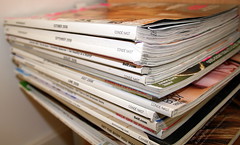
magazines Gather a bunch of magazines, a second before they’re tossed into the recycling bin.
Any type of magazine will do.

I have used a compilation of style, home decor, health & fashion magazines which works perfectly well for this project.

Step 2-
Grab a pair of utility scissors, a craft knife, a journaling pen and a glue stick from your stash – these are the essentials to which you can add stamps, punches or anything else you are gravitating towards while leafing through the magazines’ pages.

Step 3-

Leaf through the magazines pages and cut out everything that speaks to you – titles, photos, color combination you find attractive, interesting composition, nice font, an image you’d like to paint/draw – anything.

Step 4-

start compiling your very own visual life coach

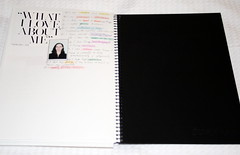
  • Start with listing everything you love about yourself. It is a very important exercise in positive self reflection and can change the entire way you are going about you life (for the better).
  • Compose your very own list of goals and include images that relates to your goals and make them more tangible.
  • Prepare a visual wish list. Some scholars believe that by visualizing your wish list you can attract its components to your life.
  • Include inspiring quotes in your pages to create an inspiration well.
  • Stick inspiring images among your pages and don’t forget to jot down some words on what made you gravitate towards each image –
    • Does it have a fabulous color combination?
    • Does it make you feel happy/relaxed/in-love?
    • Does it make you feel like creating something right away?
    • etc.

  • Experiment – sketch/create layouts. prepare color swatches. draw an outline of a composition which appeals to you.
  • Reflect- some points to consider:
    • what were the highlights of your previous year?
    • What things would you like to keep on going next year and what things would you like to refrain from?
    • what were your most memorable decisions last year and how did they affect you?

Enjoy – it is all and only YOURS.

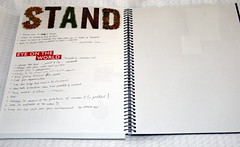
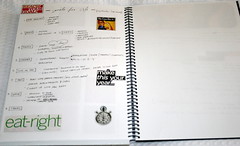
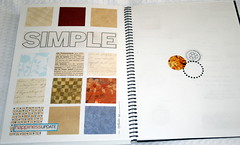
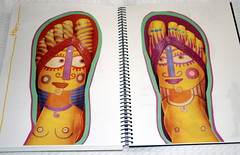
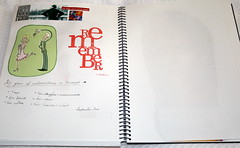
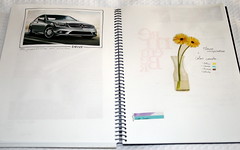
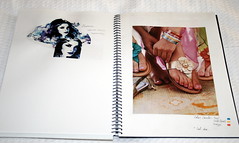
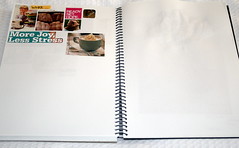
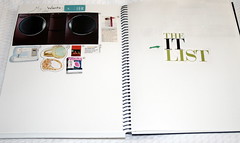
Here are some snap shots from my visual life coach for the coming year:

life book life book life book life book life book life book life book life book life book life book

Participate in the naming game

I have suggested 2 names for this project:

  1. Visual life coach
  2. Life book

Non of them seem to resonate well with the idea behind the project. So I hereby invite you to suggest names for the project – just leave a comment below with your suggestion.

Psst… You have a chance to win a copy of the book: Visual Chronicles by Linda Woods and Karen Dinino.

Enter the giveaway by leaving a comment here. Just follow the instructions and secure your place at the raffle.

Creativity Prompt #14 – Making A Teeny-Tiny Journal

Friday, August 8th, 2008

This prompt is a variation of the hard-cover journal tutorial. This time the journal is teensy-weensy and can easily be carried around in your pocket or your handbag. As an added bonus, the cuteness factor makes you want to actually use it all the time 🙂

Supply –

Instructions –

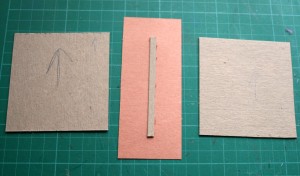
  1. Cut 3 pieces of chipboard, measured: 3×3, 3×3 & ¼ x 3 inches.
  2. Repeat the same process of making the hard-cover journal tutorial for covering up the covers and the spine and then adhering them together.

  3. The picture features a different micro-journal, but the technique is the same. I made a bunch of these cute minis and didn’t take pictures of each one separately.

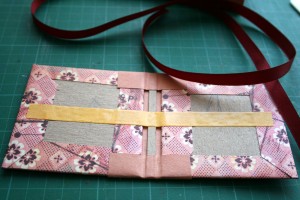
  4. Adhere a strip of double sided tape along the middle of the journal’s binding, widthwise, to secure the ribbon on it. Adhere the ribbon and make sure it is long enough to be wrapped around the journal several times, when it’s closed.
  5. Cut the handmade paper to size (10 pieces measured: 2¾x5½ and one piece measured 2¾x6½).
  6. Fold each of the 10 pieces of the handmade paper in half and burnish the fold with the bone folder.
  7. Score the longer strip of handmade paper at 2¾ on each side, to allow an ½ inch spine in the middle. Burnish the folds with the bone folder.
  8. Pierce each of the 10 pieces of the handmade paper at the middle of the score line (fold) and again 1 inch to the top and to the bottom of the middle hole. All together, each piece should be pierced three times along the middle fold.
  9. Pierce the spine of the longer strip of handmade paper, as follows:

                  Â°Â°Â°Â°Â°Â°Â°Â°Â°Â°
    « 1 inch »
    middle       Â°Â°Â°Â°Â°Â°Â°Â°Â°Â°

    « 1 inch »
                  Â°Â°Â°Â°Â°Â°Â°Â°Â°Â°

    Basically what you need to end up with is a corresponding hole to each of the signatures’ holes
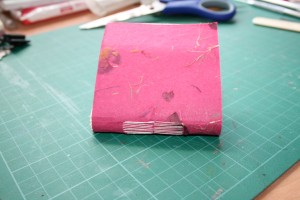
  10. Use the needle and thread to sew each separate signature to the spine.
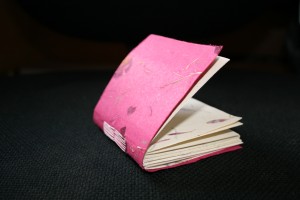
  11. Attach the bound signatures to the cover of the micro journal, using double sided tape


Voilà!
Now, don’t be surprised if the journal starts multiplying …
Consider yourself duly warned 😉


Please share your own micro journal creations with me and don’t hesitate to ask for more information, either by commenting or by using the contact form.

Creativity Prompt #13 – Recycled Mini Album

Friday, August 1st, 2008

Mini Recycled Album

Due to the vast popularity of the former “turn your trash into treasure” post, I have decided to make a series of posts, concentrating on using recycled objects to create art.

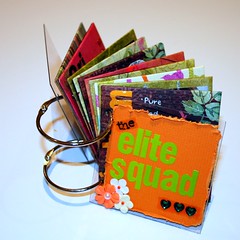
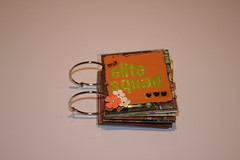
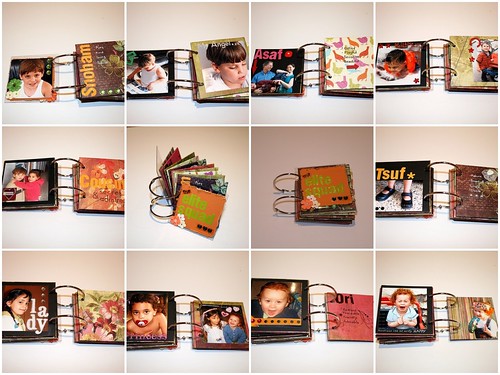
On this week’s creativity prompt I am going to show you how I have made a beautiful mini album, featuring my 3 nephews and niece, also known as “the elite squad“, using a USPS priority mail box.

Instead of throwing the box to the bin I salvaged it by taking it apart and cutting it to 3½ by 3½ inch squares. After covering the squares, punching them and putting a ton of embellishments on them, no one can tell they were taken out of the garbage bin 🙂

By making the album out of this box, I am not only helping the environment by the mere act of recycling but also by not using a brand new album or a new chipboard sheet, made out of newly chopped trees… I guess I can call it a mindful use of finite natural resources and the results are pretty cool, as you can see yourself.

So here goes this week’s tutorial:

Supply

  • Cardboard box (not necessarily USPS’s box).
  • Patterned paper and black or craft cardstock.
  • Adhesive – glue stick, tape runner and double sided tape.
  • Basic – ruler, scissors, craft knife and a cutting mat.
  • Crop-a-dile
  • Binder’s rings
  • Embellishments – clear your stash & go crazy!!!

    Instructions

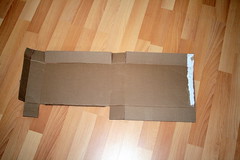
    1. Take the box apart and flatten it up
    Cardboard Box
    Flat Cardboard Box

    2. Measure and cut the squares
    Cardboard Squares

    3. Cover up the squares the same way you’d cover a journal bind – cut a bigger piece of patterned paper and apply glue stick to the cradboard square. Adhere the square in the middle of the patterned paper piece and cut all the edges in an angle, then adhere the flaps you have created to the cardboard.
    Covering Cardboard Squares

    4. Cut 3½ inch squares from the black cradstock to cover up the other side of the cardboard squares. (As I was using a very colorful and busy patterned paper for covering the cardboard squares, I chose to cover up the other side with a black cardstock. I would have used craft cardstock, had I had any…. but the main idea is to use the supply you already have.)

    5. Adhere the cardstock squares to the uncovered cardboard with double sided tape, to insure a sturdy hold.
    Cardstock Cover
    Covered Squares

    6. Punch your finished covered squares with the crop-a-dile (¼ inch from the side edge, 1¼ inch of the top and bottom edges).
    Punching holes

    7. Attach all the squares together with the binder’s rings and start adhering the pictures and writing the stories to go along with your pictures.
    Mini Album

    You can take a peek at my finished mini-album here.
    Finished mine album pages

    Please share your recycled creations with me by leaving a comment!

    Creativity Prompt #12 – Make Your Own Mini Clear Album From Scratch

    Friday, July 25th, 2008

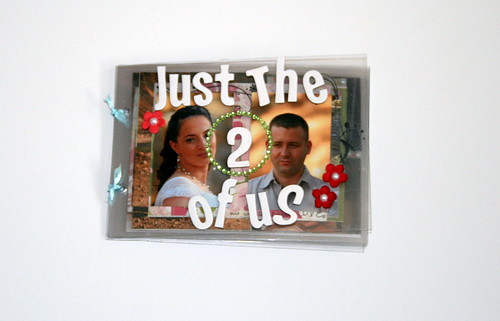
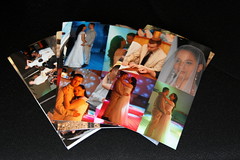
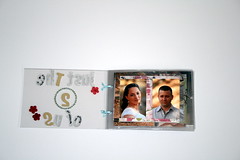
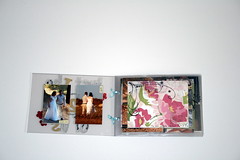
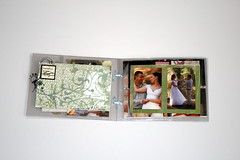
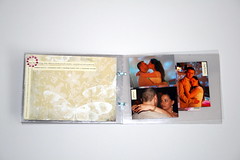
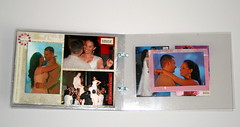
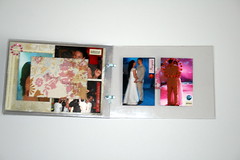
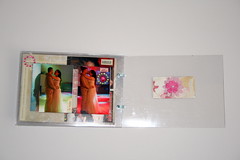
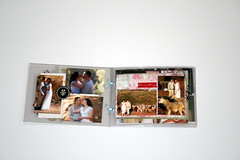
    Getting married in the digital cameras era means you have thousands of photos from your special day. The photos are capturing all the highlights of the day together with all the people surrounding you. your wedding day brings all your loved ones – both friends and family – together and you end up with a large variety of pictures.

    for this project I wanted to pick up pictures with just the two of us on them. Only my husband and I.  The photos are featuring different aspects of our wedding day. The photo-shoot in the country, the traditional ceremony and the party itself. Concentrating on pictures with only us two, brings to the front all the emotions involved in getting married.

    I have never used clear albums before and as this trend gets hotter and hotter I have had a strong urge to have my go with it. Mostly having my own way at something means I am trying to make it from scratch, to enhance my “ownership” on the project.

    You don’t have to go that way. If you prefer to concentrate your efforts on the content rather than on the platform, there is a great variety of gorgeous ready-made clear albums. Just to name a few, look at clear albums from these merchants:

    This week’s prompt is to make your own clear album. Here’s how I did it:

    Supply-

    Embellishments –

    Instructions –

    1. Start by choosing the photos and cropping them to size (mine are all 2″x3″). As we are dealing with a mini, go for photos with a common denominator you can showcase on that mini-album.
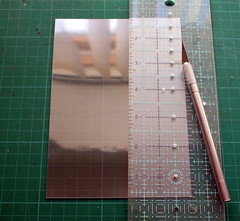
    2. Cut your acrylic sheets to the desired size. The great thing about making your own album is that you can choose whatever size you need and also use various different sizes on the same album. (mine are 5″x7″).
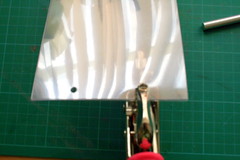
    3. With your trusty Crop-a-dile, punch two holes through all your clear pages on the side, approximately 1/8″ from the edge. If the height of your album is longer than 5 inches, you should consider punching 3 holes.
    4. Thread the ribbon through the holes you have punched and tie it in a secure knot. (I applied diamond glaze to the edges of the ribbon to avoid fraying). Your album is done. The key to a clear album layering is adhering all your photos and patterned papers back to back. Now have fun in building everything up and embellishing it to death 🙂

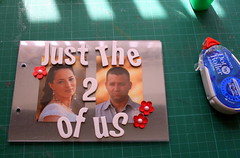
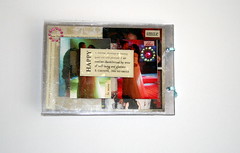
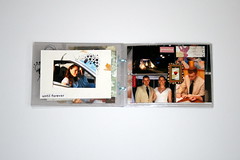
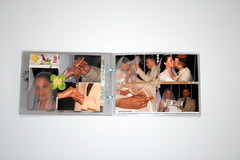
    My finished mini-album:


    Creativity Prompt #11 – Go Where You Have Not Gone Before -or- Digital Scrapbooking

    Friday, July 18th, 2008

    When I feel uninspired and blocked I am trying to go where I have not gone before. I am trying to experiment with new techniques and with new styles. Working on something you haven’t worked on before makes you slow down and carefully go forward – step by step – until you have reached fruition.

    Many times slowing down and “tip-toeing” around helps to ignite creativity and spark your muse again. Not to mention that achieving results on a completely new turf helps in boosting your confidence and sparking your sense of self achievement as well.
    While going through the unfamiliar path keep in mind that you are just a novice and adjust your expectations accordingly, otherwise you may lose all the advantages in your little exploration trip.

    In my case, a field I have not yet tried out (among many others) is digital scrapbooking.

    I have stumbled upon a great website, called Scrapblog which is perfect to a new timer like me. There is absolutely nothing I need to know except for drag and drop. That works perfectly well for me and have I mentioned it is completely FREE? (By the way, other than using their services I have absolutely no connection to this website, whatsoever).

    This is my trial layout:

    You can also try Adobe Photoshop Elements which is also a very simple program for digital scrapbooking. This program gives you much more control in designing your layouts and editing your photos, but it isn’t free and you need to learn some more basic skills than just dragging and dropping ….

    There are many, many online stores that sell digital backgrounds and digital brushes and fonts for your digital scrapbooking. Check out the variety at Scrapbook.com and Two Peas In A Bucket for some ideas.

    Another Cool website which sells digital scrapbooking goodies is: Designer Digitals. I especially love the Ali Edwards line.

    So, this week’s creativity prompt is to try something new. Go digital, go traditional or go hybrid. Just go to a new place, where you have not yet been before.

    Creativity Prompt #10 – Making Your Own Journaling Tags

    Friday, July 11th, 2008

    My scrapbooking philosophy is that words are just as important as pictures. The journaling helps in keeping a more complete memory of the moment. It creates a deeper memory of a loved one or a richer reminder of a point in time you wish to treasure for yourself and for the next generations

    There are many ways to incorporate journaling in an album (or an art journal). One of the quickest and easiest ways I know is by using journaling tags. The more colorful and interesting they are, the more inclined I am to actually use them and put those feelings and memories in writing.

    There are many brands of journaling tags to choose from, check out:

    1. Heidi Swapp Journaling spots

    2. 7Gypsies 97% Complete Tags

    3. Making Memories Spiral Journaling Books

    4. KI Memories Pop Culture Taglines

    5. Elle’s Studio Journaling Tags
    6. Pink Twilight’s Journaling Spots

    and many more…

    From time to time I also love to make my own journaling tags. It is a great way to use scraps of cardstock and patterned papers and a very good creativity prompt. Using my own hand-made goodies makes me feel inspired and more attached to the final result.

    You can either make the tags as you go or make them in bulks, in a production line manner (which is the way I do it).

    The possibilities for making the journaling tags are endless. Any piece of paper can do, in any shape, color and size. Rarely my journaling tags actually look like traditional tags …

    This week’s creativity prompt is to make your own journaling tag (and to use them !!!).

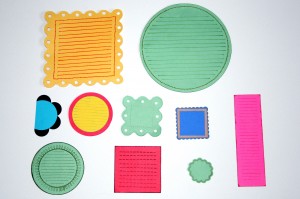
    Here are examples for some journaling tags I have recently made and short instructions on how to make them yourself.

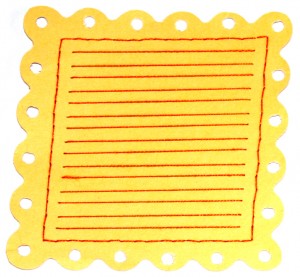
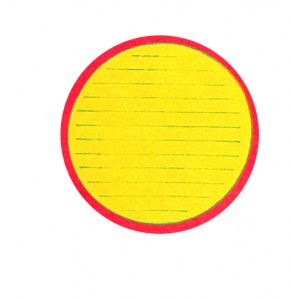
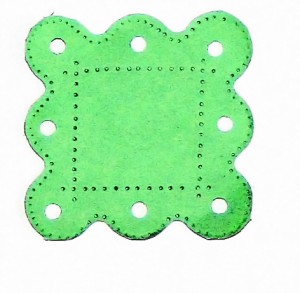
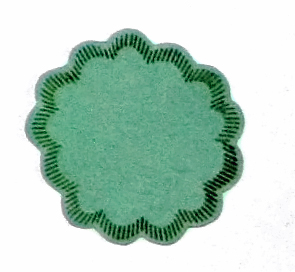
    On this one I have used a Coluzzle template to scallop the edges (Thanks, Mor, for the tip on using this template). After cutting the scalloped square I punched holes in each scallop with the Crop-a-dile and pierced a frame around the inner square with a paper piercer. I am using the Coluzzle foam mat for the piercing, it really makes it easy. After piercing the frame I stitched it with an orange embroidery thread. Than, using a clear ruler, I pierced two little holes in each line and stitched them as well, in order to create the journaling lines. (A quick tip on threading a needle – put a bid of clear glue at the tip of the thread, it prevents the thread from fraying and works like magic).

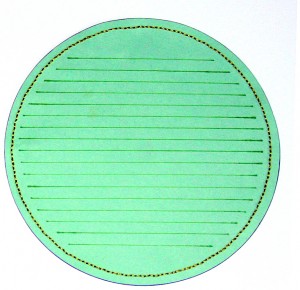
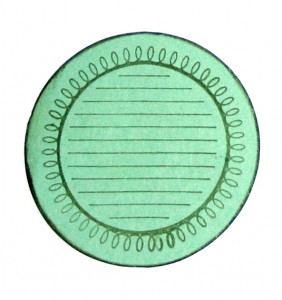
    On this one I have used the same method of piercing a frame and stitching along it. For cutting the circle I used Fiskars Circle cutter. The lines were drawn using a clear ruler and a green sharpie.

    On this small tag I used a small circle punch and cut out the black circles and than adhered them to the back of the light blue circle and than cut it in half. This tag goes well when lined up against a picture or the age of the page.

    This one is really easy. Using a coluzzle small circles template I cut out two circles and on the small one I stamped with Autumn Leaves clear journaling stamp using a blue chalk ink.

    On this one I used the same technique I have used with the first yellow tag, only I did not use stitches. I also pierced the outer frame, free-hand.

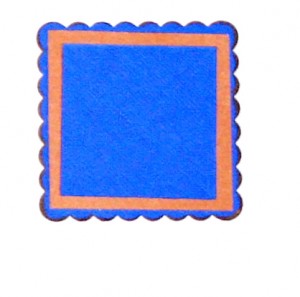
    This tag is reeeeeeeeally simple. I have punched out a scalloped square and adhered two smaller squares to it.

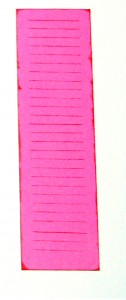
    On this fun little tag I inked the edges with a red chalk ink and for the lines I used the Autumn Leaves clear journaling stamps again. Now it’s time for another tip. In order to use only the lines on the stamps and for creating a nice 1/4″ border around, I have masked the tag with post its.
    On this tag I was using Technique Tuesday “Hanging by a thread” stamps only Instead of mounting the stamp straight on the acrylic block, I have mounted it in a curve to create the circle. To guard the end I was using post its again. Next I cut along the stamped lines, turning the cardstock around instead of the scissors.

    On this tag I used the same technique of lining the stamp up in a curve. I was using the same stamp set as above, and also the Autumn Leaves journaling stamps. I inked the outline of the circle with a green chalk ink and cut it out using the Coluzzle template.

    On this tag I was using the Technique Tuesday “Hanging by a thread” stamps again, only this time I mounted the stamp straight on the block. To mask of the outline, I was using post-its. I used red chalk ink for the journaling lines and for the edges.

    I hope this post has given you some ideas and a bit of inspiration for make your own journaling tags. Please share your own journaling tag creations by commenting to this post.

    Creativity Prompt #9 – Get Inspired By The Color Wheel

    Friday, July 4th, 2008

    Getting started is many times the biggest obstacle. The first step is awkward. Staring at a blank page, overwhelmed by the scope or the complexity of the task can lead you to procrastination or to just give up. However, after you have taken the first step, the next ones are going to be natural and easy.

    So how can you jump start your your creative process?

    Back when I was working as a lawyer, I used to start with the outline. Starting with a familiar structure had made the first step a breeze and also helped me focus on the unique elements of the case I was working on. In the process of making a scrapbook page or any other crafty project, an easy way to get through that dreaded first step is using a template. Either use a template you have used and loved before or a template from a magazine or a book. The template can refer to either the layout or to the color palette of the project.

    This week’s creativity prompt is focusing on using a color palette to jump start your work. After choosing the color palette you are already half way through and all you have left is picking up the corresponding supplies (which is FUN) and get creative. Unfortunately, choosing the “right” colors may take precious time away from your actual making time.

    There are many shortcuts in coming up with a color palette. One way is by leafing through design magazines and picking up color combination that appeal to you or talk to you in some way. Another fun way of choosing colors for your projects is by using the color wheel, which is what this week’s creativity prompt is all about.

    All you have to do is to find your favorite color (in my case it changes from time to time and is currently orange) on the color wheel and then pick up its analogous and complementary colors (the colors which are right next to it and the color opposite to it), and voilà– you’ve got your palette.

    In the example below my anchor color is a darker shade of my favorite color (orange) and by following the above process I came up with the color palette and chose the supply accordingly.

    This was my palette:

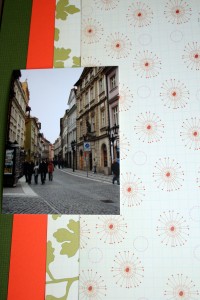
    This is the layout I came up with:

    Supply: Bazzil cardstock. Scenic Route patterned paper. Making Memories wordfetti. Love Elsie chipboard buttons. American Crafts Pigment Pro pen.

    This is another layout I have made with the same palette. I have also used scraps from the first layout, thus killing two flies with one flick 🙂 :

    Supply: Bazzil cardstock. Scenic Route and Basic Grey Patterned papers. Colorbox ink. Thread.

    For some more color inspiration check out these links:

    1. For more information about the color wheel, check here, here and here.

    2. For a perpetual flow of color palettes, check here.

    3. For a visual color inspiration, check here and here.

    So go ahead and make that first step by using the color wheel to choose a palette and share your creations with me by leaving a comment below.