/** Font types */

Archive for the ‘Tutorial’ Category

Creativity Prompt #12 – Make Your Own Mini Clear Album From Scratch

Friday, July 25th, 2008

Getting married in the digital cameras era means you have thousands of photos from your special day. The photos are capturing all the highlights of the day together with all the people surrounding you. your wedding day brings all your loved ones – both friends and family – together and you end up with a large variety of pictures.

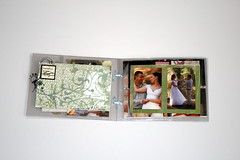
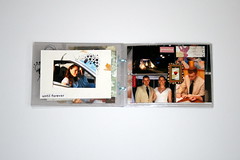
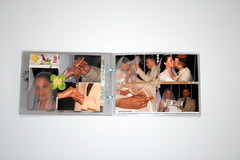
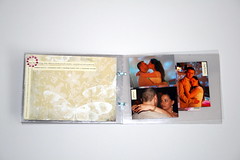
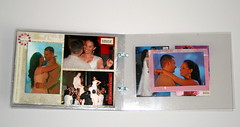
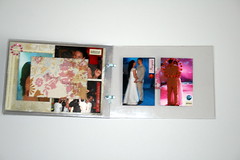
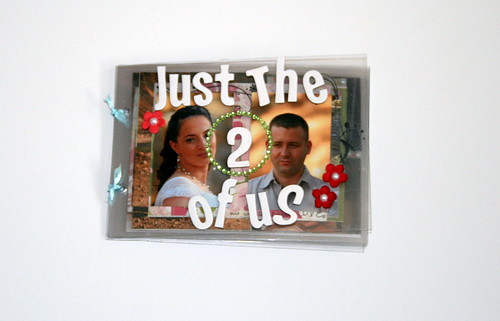
for this project I wanted to pick up pictures with just the two of us on them. Only my husband and I.  The photos are featuring different aspects of our wedding day. The photo-shoot in the country, the traditional ceremony and the party itself. Concentrating on pictures with only us two, brings to the front all the emotions involved in getting married.

I have never used clear albums before and as this trend gets hotter and hotter I have had a strong urge to have my go with it. Mostly having my own way at something means I am trying to make it from scratch, to enhance my “ownership” on the project.

You don’t have to go that way. If you prefer to concentrate your efforts on the content rather than on the platform, there is a great variety of gorgeous ready-made clear albums. Just to name a few, look at clear albums from these merchants:

This week’s prompt is to make your own clear album. Here’s how I did it:

Supply-

Embellishments –

Instructions –

  1. Start by choosing the photos and cropping them to size (mine are all 2″x3″). As we are dealing with a mini, go for photos with a common denominator you can showcase on that mini-album.
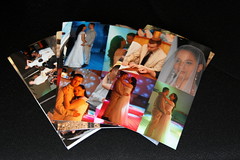
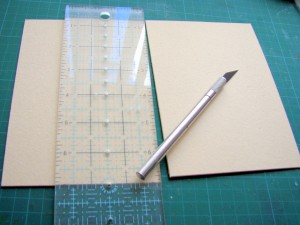
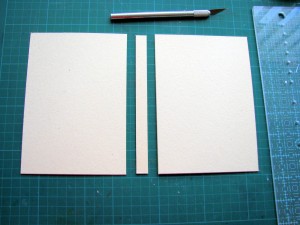
  2. Cut your acrylic sheets to the desired size. The great thing about making your own album is that you can choose whatever size you need and also use various different sizes on the same album. (mine are 5″x7″).
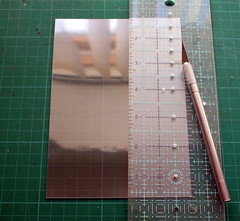
  3. With your trusty Crop-a-dile, punch two holes through all your clear pages on the side, approximately 1/8″ from the edge. If the height of your album is longer than 5 inches, you should consider punching 3 holes.
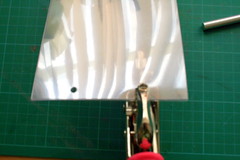
  4. Thread the ribbon through the holes you have punched and tie it in a secure knot. (I applied diamond glaze to the edges of the ribbon to avoid fraying). Your album is done. The key to a clear album layering is adhering all your photos and patterned papers back to back. Now have fun in building everything up and embellishing it to death 🙂
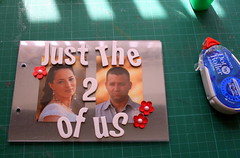
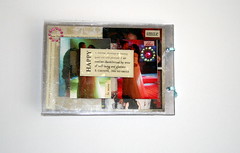
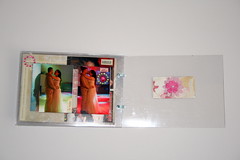
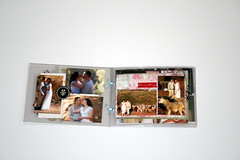
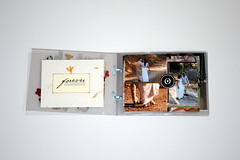
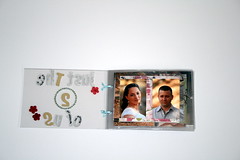
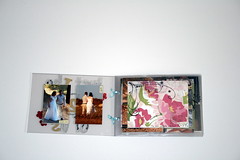
My finished mini-album:


Creativity Prompt #10 – Making Your Own Journaling Tags

Friday, July 11th, 2008

My scrapbooking philosophy is that words are just as important as pictures. The journaling helps in keeping a more complete memory of the moment. It creates a deeper memory of a loved one or a richer reminder of a point in time you wish to treasure for yourself and for the next generations

There are many ways to incorporate journaling in an album (or an art journal). One of the quickest and easiest ways I know is by using journaling tags. The more colorful and interesting they are, the more inclined I am to actually use them and put those feelings and memories in writing.

There are many brands of journaling tags to choose from, check out:

  1. Heidi Swapp Journaling spots

  2. 7Gypsies 97% Complete Tags

  3. Making Memories Spiral Journaling Books

  4. KI Memories Pop Culture Taglines

  5. Elle’s Studio Journaling Tags
  6. Pink Twilight’s Journaling Spots

and many more…

From time to time I also love to make my own journaling tags. It is a great way to use scraps of cardstock and patterned papers and a very good creativity prompt. Using my own hand-made goodies makes me feel inspired and more attached to the final result.

You can either make the tags as you go or make them in bulks, in a production line manner (which is the way I do it).

The possibilities for making the journaling tags are endless. Any piece of paper can do, in any shape, color and size. Rarely my journaling tags actually look like traditional tags …

This week’s creativity prompt is to make your own journaling tag (and to use them !!!).

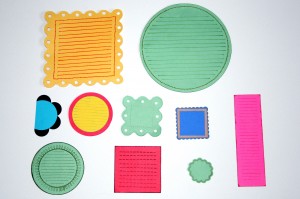
Here are examples for some journaling tags I have recently made and short instructions on how to make them yourself.

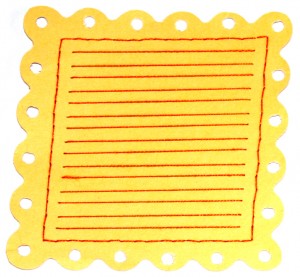
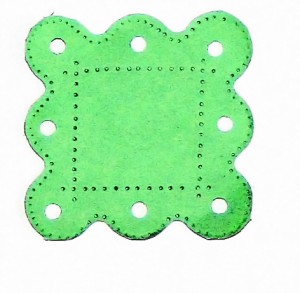
On this one I have used a Coluzzle template to scallop the edges (Thanks, Mor, for the tip on using this template). After cutting the scalloped square I punched holes in each scallop with the Crop-a-dile and pierced a frame around the inner square with a paper piercer. I am using the Coluzzle foam mat for the piercing, it really makes it easy. After piercing the frame I stitched it with an orange embroidery thread. Than, using a clear ruler, I pierced two little holes in each line and stitched them as well, in order to create the journaling lines. (A quick tip on threading a needle – put a bid of clear glue at the tip of the thread, it prevents the thread from fraying and works like magic).

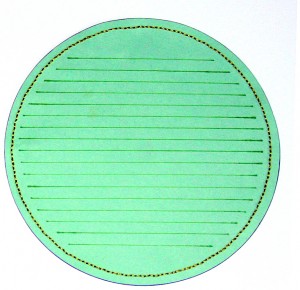
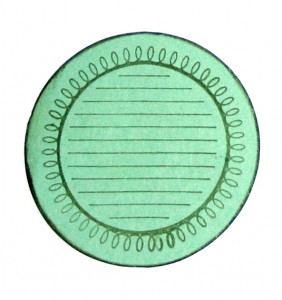
On this one I have used the same method of piercing a frame and stitching along it. For cutting the circle I used Fiskars Circle cutter. The lines were drawn using a clear ruler and a green sharpie.

On this small tag I used a small circle punch and cut out the black circles and than adhered them to the back of the light blue circle and than cut it in half. This tag goes well when lined up against a picture or the age of the page.

This one is really easy. Using a coluzzle small circles template I cut out two circles and on the small one I stamped with Autumn Leaves clear journaling stamp using a blue chalk ink.

On this one I used the same technique I have used with the first yellow tag, only I did not use stitches. I also pierced the outer frame, free-hand.

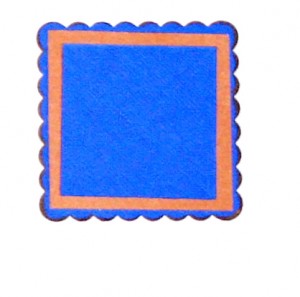
This tag is reeeeeeeeally simple. I have punched out a scalloped square and adhered two smaller squares to it.

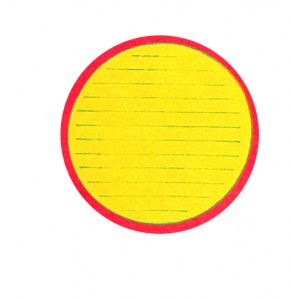
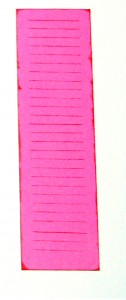
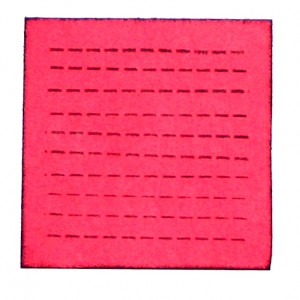
On this fun little tag I inked the edges with a red chalk ink and for the lines I used the Autumn Leaves clear journaling stamps again. Now it’s time for another tip. In order to use only the lines on the stamps and for creating a nice 1/4″ border around, I have masked the tag with post its.

On this tag I was using Technique Tuesday “Hanging by a thread” stamps only Instead of mounting the stamp straight on the acrylic block, I have mounted it in a curve to create the circle. To guard the end I was using post its again. Next I cut along the stamped lines, turning the cardstock around instead of the scissors.

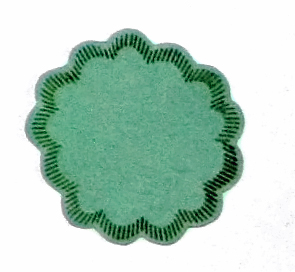
On this tag I used the same technique of lining the stamp up in a curve. I was using the same stamp set as above, and also the Autumn Leaves journaling stamps. I inked the outline of the circle with a green chalk ink and cut it out using the Coluzzle template.

On this tag I was using the Technique Tuesday “Hanging by a thread” stamps again, only this time I mounted the stamp straight on the block. To mask of the outline, I was using post-its. I used red chalk ink for the journaling lines and for the edges.

I hope this post has given you some ideas and a bit of inspiration for make your own journaling tags. Please share your own journaling tag creations by commenting to this post.

Creativity Prompt #8 – Making Your Own Hardbound Journal

Friday, June 27th, 2008

A few weeks ago I mentioned the importance of treasuring ideas in an “inspiration well”. Having a place to go back to when you are feeling uninspired and blocked is important both for your creative process and your well being – it keeps you inspired, optimistic and energized.

Just taking notice of your environment and of all the wonders of the world around you and the beauty of your everyday life can help you feel more inspired and have a more relaxed life. However, writing those details down can help you stay focused and inspired also on gloomy days, when it is very difficult to be aware of all the goodness around you.

Another good reason for writing all the great ideas your mind (and your heart) yields is to perpetuate them on paper (or on your computer). When we have a fabulous idea we are consumed with it and cannot imagine we would ever forget it, but we do. No matter how fantastic and fabulous the idea is, life’s endless flow of information and duties can push away the greatest ideas.

Now, think about a journal that does not only keep your ideas but also helps you to come up with the ideas… That sounds like a great idea, doesn’t it? Well, in my case, making my own journal from scratch can do that for me.

This week’s prompt is making your own hardbound journal to inspire and to treasure ideas in it.

Supply –

  • Chipboard
  • Cutting mat + craft knife
  • Blank papers
  • Construction paper
  • Paper piercer
  • Needle + thread
  • Adhesive

Optional tools –

  • Brayer
  • Bone folder

Directions –

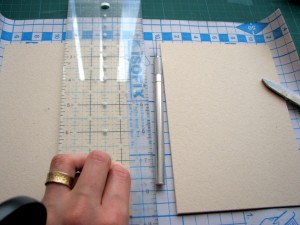
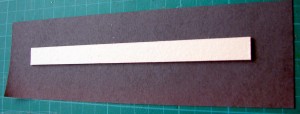
Cut two pieces of chipboard, the size of your desired cover and one narrower strip, the length of your desired cover and the width of your desired spine (about ½“ should do for the width).

Cut the patterned paper 2” longer and wider than your cover chipboard pieces (an inch more in each side).

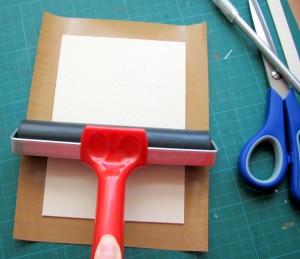
Adhere the patterned paper to each cover – use a brayer to insure the paper sticks well to the chipboard.

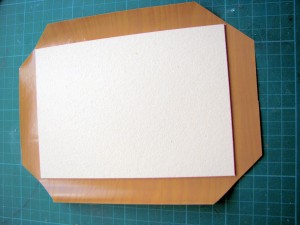
Cut the corners of the patterned paper – but not all the way to the chipboard.

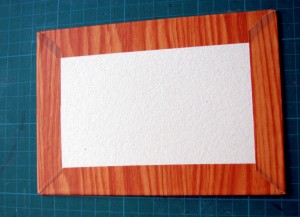
Adhere the patterned paper’s rims to the chipboard. (a bone folder can be helpful)

Cut a piece of construction paper to cover the spine, allowing an inch of a rim all over.

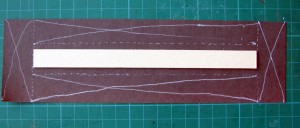
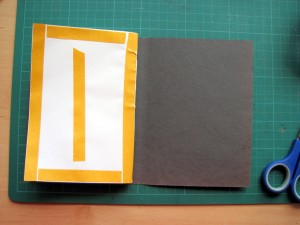
Adhere the spine to the center of the construction paper and apply glue only to the parts which are marked with an ‘x’ in the picture below. Allowing a ¼” of unglued paper near both sides of the spine.

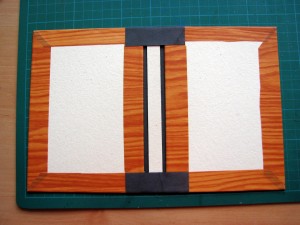
Adhere the spine to the cover pieces, as shown below.

For the inserts of your journal cut the blank papers ½” shorter than the length of the spine and 2 times the width of the covers pieces, minus ½”. (That means that if your cover is 6” in length and 5” in width – you need to cut your blank papers at 5½” X 9½”).

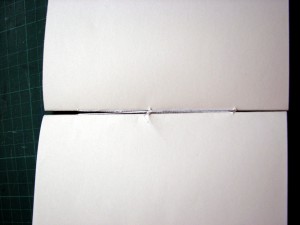
Fold the blank papers lengthwise to find the middle mark and pierce it with 3 evenly spaced holes.

Attach all the blank papers together with a needle and a thread. If you have more than 10 inserts, it is better to make it in batches and attach each batch with the thread as well.

Cut a construction paper slightly bigger than the unfolded inserts (If we go back to the example above, it would be 5¾” X 9¾”). Adhere your inserts to the construction paper (I have used doubled-sided tape).

Adhere the covered inserts to the cover pieces, lining them with the outer cover. It is better to first adhere one side and than the next, by applying the glue and closing the cover on it.

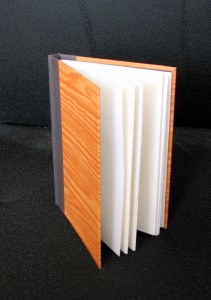
Enjoy your new journal and get inspired !!

Creativity Prompt #7 – Circular Pocket Album

Friday, June 20th, 2008

A couple of weeks ago my husband and I celebrated our first wedding anniversary. I couldn’t believe a year has already passed by, but it was a fabulous and an adventurous year for the two of us. Leaving our families and friends and moving to a foreign country in another continent had been quite an experience for us, but together we can really conquer all.

As a wonderful gift, my husband bought me a brand new digital SLR camera, Canon Rebel XTI. He also told me the sweetest thing, he said he didn’t need a present as giving me a gift is already a present for him. Isn’t he the cutest?

Well, I couldn’t really follow his request, could I ?! So I have decided to give him something handmade. Something that can reflect my great love for him and the journey we have made together. Additionally, I wanted it to be something he can always carry along with him. Something which is small in size but big in value.

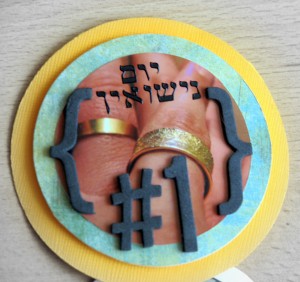
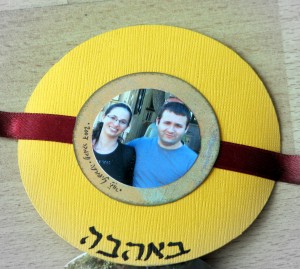
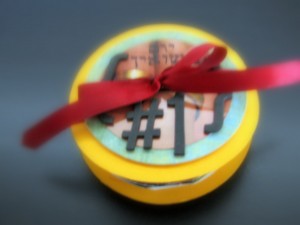
Eventually, I have made him a circular pocket album with pictures that showcase our life together over the past few years and in my journaling I was counting the ways in which I love him. If that idea sounds interesting for you (you can adapt the theme to fit your own milestones in life), here’s a quick tutorial:

Supply –

  • White card stock (as many as you need)
  • 1 sheet of Orange card stock
  • Patterned papers
  • Journaling spots (I made my own journaling spots by using stamps)
  • Adhesive
  • Ribbon
  • Embellishments

Directions –

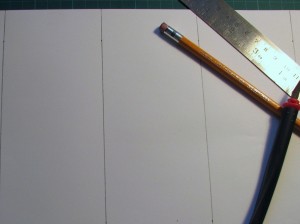
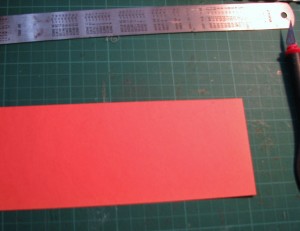
Cut your card stock into strips the width of your desired diameter (mine was 2 ¾ “).

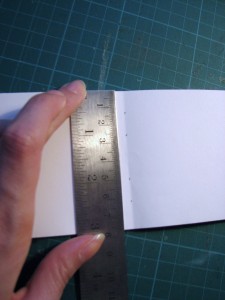
Score the length of the strips by the desired diameter, making it about a ¼ ” short (in my album, each 2 ½ “). Fold the s

trip, following your score lines, in an accordion fold.

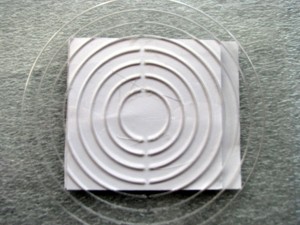
Put your circle template on your folded strip and select the size which fits your desired diameter. Make sure you don’t cut all the w

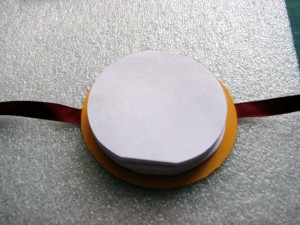
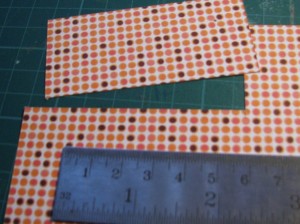
ay through the folds (this is why the score lines were a tad shorter). On the other hand, also make sure your template fully covers your folded strip, except for the folded part (The photo below is a good example for what you need to avoid – when the template exceeds the stripe at the bottom). If you feel uncomfortable with the cut, make a template out of scrap papers and try to cut it first and make sure you get it right before cutting through the card stock.

Repeat the former two steps until you have enough circles for all your photos and journaling spots. While calculating how many stripes you need, take the following under consideration:

a. You are using both sides of the circles, so multiple the number of circles you’ve got by 2 (I’ve had 4 circles, so that’s 8 pages);

b. Subtract 2 pages out, as the cover, or the next and former strips will be attached to it.

Attach the strips together by mounting the last circle of one strip to the first one of the other. Make sure that the direction of the accordion fold is kept.

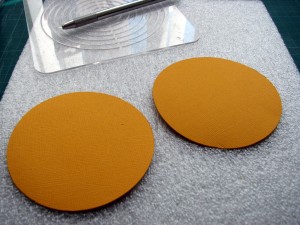
For the covers, make 2 more circles, ½ “ larger in diameter from the orange card stock.

Adhere th

e ribbon to the bottom cover, in a way that the middle of the ribbon would be on the middle of the cover circle.

Crop your photos to feet the circle pages and put the pocket album together.

Adhere the 2 cover pieces to your accordion album and embellish.

Creativity Prompt #6 – Turn Your Trash Into Treasure

Friday, June 13th, 2008

The global warming is a disturbing fact and it is up to us to lead environmentally friendly life. One of my ways of doing so is by using alchemy (a.k.a: recycling). I always think of ways to give a new lease of life to used objects and practically making something out of nothing.

It is much simpler to throw away things than to think about ways of reusing them – but finding a new purpose to something you were about to throw away is a great exercise for your creativity.

Think of all the creative ways you can use junk mail, scraps of paper and card stock, chipboard which is attached to paper pads and scrapbooking supply’s packages. Recycling all these bits and pieces also gives you a great value for your money, which is another great reason to repurpose trash.

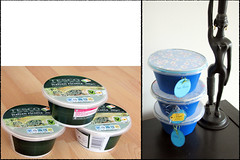
This week’s creativity prompt is taking this notion one step farther by reusing empty plastic containers. I love making lasagna but I am always left with at least three empty plastic containers, not very environmentally friendly…

One day, just before throwing away all the empty ricotta cheese containers, I was thinking of all the small embellishments that are cluttering my drawers. Then an idea came to my mind, I should use these containers to store these small embellishments. Two problems solved at once !!

I washed the containers thoroughly to get rid of all the cheese enzymes (apparently they were dishwasher safe) and ended up with pretty ugly small plastic containers. The look of them wasn’t particularly inspiring so my next step was to decorate them. Here’s a short tutorial on how I did that:

Supply –

  • Acrylic paint & paintbrush
  • Circle cutter (I have used both Fiskar’s and Provo Craft’s Coluzzle circle cutting systems)
  • Patterned paper & card stock
  • Permanent adhesive
  • Ribbon or embroidery floss
  • Ink pad

Directions –

Paint the entire container with an acrylic paint. A couple of layers should create an opaque coverage.

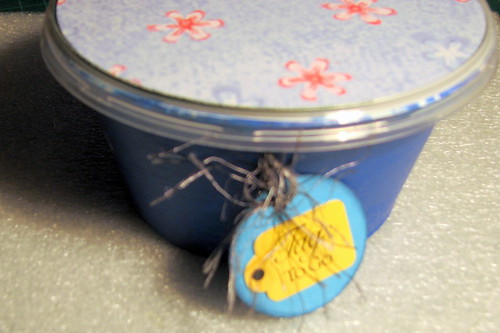
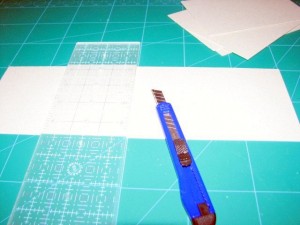
Measure the diameter of the container’s lid and cut a circle from the patterned paper accordingly. Note that the diameter of the inside and of the outside of the lid might be different, so make sure to measure them both.

Adhere the patterned paper to both sides of the lid.

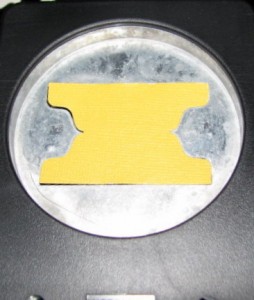
Cut a circle tag out of your card stock and ink its edges. Attach the tag to the container (I have attached it by punching two 1/8” holes below the upper rim of the container and weaving the thread through them).

Voilà !!

Creativity Prompt #5 – Making Your Own Mini Chipboard Album

Friday, June 6th, 2008

The variety of premade mini albums is overwhelming. Almost every scrapbooking company has its own range and there are new releases all the time. However, I prefer to prepare my own mini-albums. It is cheaper to make your own ones (if precious time is not being taken into account), but it is not the reason I do that.

The main reason of making my own mini-albums is that it has become an integral part of the creative process and it makes me more attached to the end result – imperfections and all.

From time to time, I will post a tutorial on a different mini album. However, the whole point of making your own mini album is the flexibility of it. You can make your own in any possible shape and size, using a wide range of products, so feel free to stray from my tutorials and adapt them to your own taste and needs. It is easy.

This week’s creative prompt is a 4” by 6” mini chipboard album tutorial.

I love this design because it is very simple and its prep-time is very short. Additionally, this particular size comes in very handy when adding your photos inside, as no cropping is needed. You can either attach the photo directly to the chipboard page or make “photo pages” by adhering 2 photos – back to back – and using the chipboard page as a template for punching the holes.

Supply –

  • Ruler & craft knife
  • Chipboard (I use the ones that are added to packages of scrapbook supply for protection).
  • Patterned paper
  • Tab-punch
  • Single hole punch (I use the Crop-A-Dile which cuts through chipboard like butter)
  • 3 Metal rings

Directions –

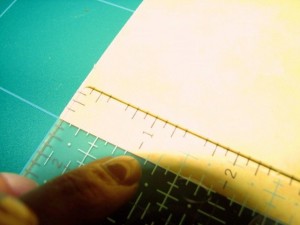
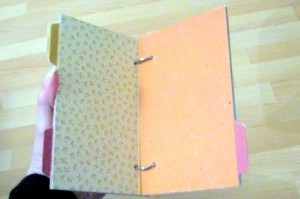
Cut 7 pieces of the chipboard, measured 4”X6”.

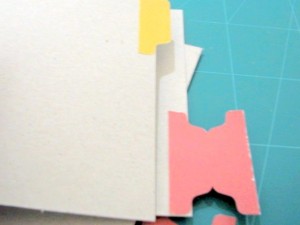
Punch 5 tabs out of card stock in your preferred colors.

Adhere the tabs to the inner chipboard pages in a way that in one page the tab would adhere to the top and on the next page to the bottom.

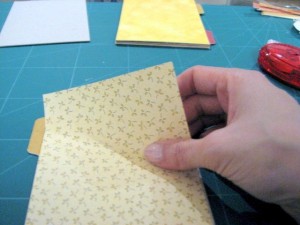
Cover the chipboard pages with patterned paper, cut to size at 4″X6″ (you can file the edges with a nail file).

Punch 2 holes, each 3/4” from the side and 1” from the top/bottom of the page.

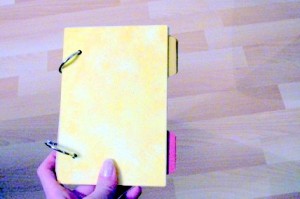
Attach all the pages with the metal rings and – Voilà !!

Creativity Prompt #1 – Creating an Inspiration Well

Friday, May 9th, 2008

Before getting my creative juices flowing, I need to get inspired. Inspiration can come out of many sources. Some sources might be unexpected. An original new packaging of an old product. A unique ad in the newspaper. The shapes clouds are forming in the sky. The graduating colors of a flower’s petals. A memorable passage from a favorite book. The inspiration well is indeed bottomless.

Regrettably, inspiration can be very elusive at times we need it most. The outfall of inspiration dazzles us all through the day, but when we sit down to create something – either a painting, a scrapbook or a chapter in a book – we feel empty, blocked and uninspired.

Therefore, my number one prompt – chronologically and materially – is creating an inspiration well in which we will capture bits of inspiration for later use.

Capturing inspiration is tremendously easy – you just need to take note of things which have inspired you. You can have several wells – a computer file, a notebook or some sticky notes glued to your computer’s screen – as long as you know where to find your inspiration, it doesn’t matter where you have kept it. (Keeping it in mind, by the way, has proven to be not very effective).

Next time you tackle an inspiring quote – clip it. An interesting photo – save it. A great idea – write it. You won’t regret it.

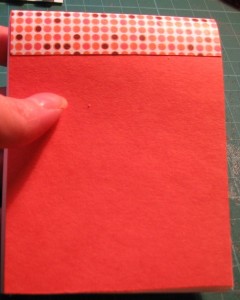
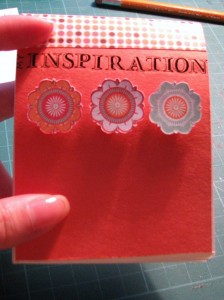
A great way of getting you inspired to capture inspiration is by preparing an inspiration notebook. A small one that can be easily stashed in your wallet or handbag. It is so simple to make it, all you need is a few blank papers, one piece of construction paper, a needle and a thread and a scrap of patterned paper.

Step 1

Cut 3” X 8.5” straps of blank paper.

(Cut as many straps as you’d like, but not too many. I’ve made 20 straps)

Step 2

Cut one 3” X 8.5” strip of construction paper.

(You can use one of the blank papers as a guide).

Step 3

Stash all the strips of blank paper, together with the strip of the construction paper, on top of each other – so the strip of the construction paper would lie at the bottom of the stash and fold the stash in half.

Step 4

Mark the seam of the stash at ½”, 1”, 2”, 2 ½” and poke holes at the marks.

Make sure you go through all the papers with your paper piercer.

Make sure your stash is perfectly aligned when you poke the holes.

Step 5

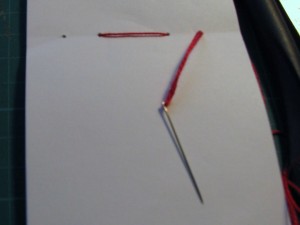
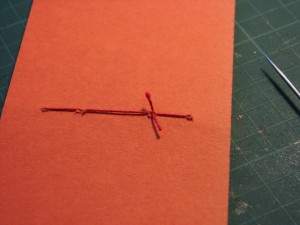
With a needle and a vibrant colored thread (just for fun) sew the stash together, using the holes you have poked.

Step 6

Tie the two ends of the thread into a knot.

Step 7 –

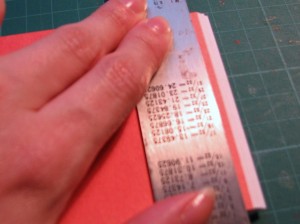
Straighten the edges of the notebook using a ruler and a sharp craft knife. Hold the stash firmly and cut with steady and straight motions.

Step 8

Cut a 2” X 3” piece of patterned paper and attach it with a glue stick or Modge-Podge to the top of your notebook, to cover the seam and the thread.

Try to align the middle of the patterned paper with the seam. You can use a brayer to strengthen the hold.

Now your inspiration notebook is ready and all there is left is to embellish the notebook and start taking notes of inspiration !!!