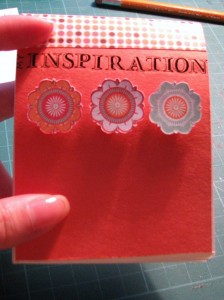
Before getting my creative juices flowing, I need to get inspired. Inspiration can come out of many sources. Some sources might be unexpected. An original new packaging of an old product. A unique ad in the newspaper. The shapes clouds are forming in the sky. The graduating colors of a flower’s petals. A memorable passage from a favorite book. The inspiration well is indeed bottomless.
Regrettably, inspiration can be very elusive at times we need it most. The outfall of inspiration dazzles us all through the day, but when we sit down to create something – either a painting, a scrapbook or a chapter in a book – we feel empty, blocked and uninspired.
Therefore, my number one prompt – chronologically and materially – is creating an inspiration well in which we will capture bits of inspiration for later use.
Capturing inspiration is tremendously easy – you just need to take note of things which have inspired you. You can have several wells – a computer file, a notebook or some sticky notes glued to your computer’s screen – as long as you know where to find your inspiration, it doesn’t matter where you have kept it. (Keeping it in mind, by the way, has proven to be not very effective).
Next time you tackle an inspiring quote – clip it. An interesting photo – save it. A great idea – write it. You won’t regret it.
A great way of getting you inspired to capture inspiration is by preparing an inspiration notebook. A small one that can be easily stashed in your wallet or handbag. It is so simple to make it, all you need is a few blank papers, one piece of construction paper, a needle and a thread and a scrap of patterned paper.
Step 1 –
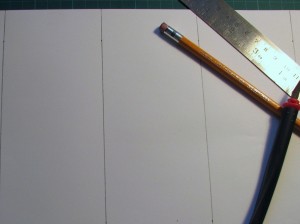
Cut 3” X 8.5” straps of blank paper.
(Cut as many straps as you’d like, but not too many. I’ve made 20 straps)
Step 2 –
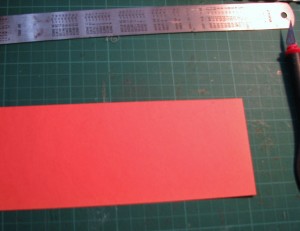
Cut one 3” X 8.5” strip of construction paper.
(You can use one of the blank papers as a guide).
Step 3 –
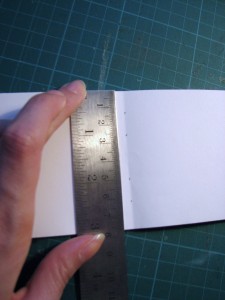
Stash all the strips of blank paper, together with the strip of the construction paper, on top of each other – so the strip of the construction paper would lie at the bottom of the stash and fold the stash in half.
Step 4 –
Mark the seam of the stash at ½”, 1”, 2”, 2 ½” and poke holes at the marks.
Make sure you go through all the papers with your paper piercer.
Make sure your stash is perfectly aligned when you poke the holes.
Step 5 –
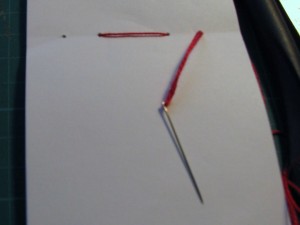
With a needle and a vibrant colored thread (just for fun) sew the stash together, using the holes you have poked.
Step 6 –
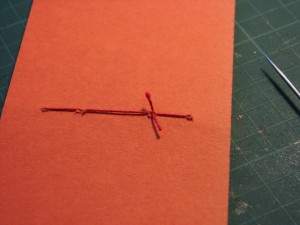
Tie the two ends of the thread into a knot.
Step 7 –
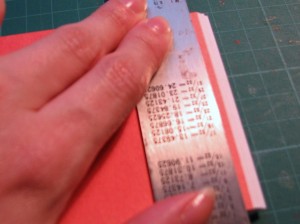
Straighten the edges of the notebook using a ruler and a sharp craft knife. Hold the stash firmly and cut with steady and straight motions.
Step 8 –
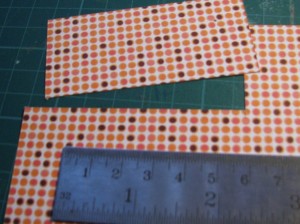
Cut a 2” X 3” piece of patterned paper and attach it with a glue stick or Modge-Podge to the top of your notebook, to cover the seam and the thread.
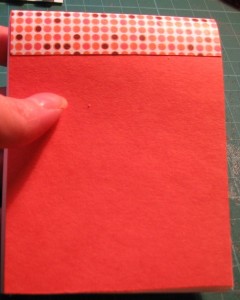
Try to align the middle of the patterned paper with the seam. You can use a brayer to strengthen the hold.
Now your inspiration notebook is ready and all there is left is to embellish the notebook and start taking notes of inspiration !!!
