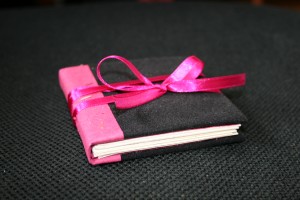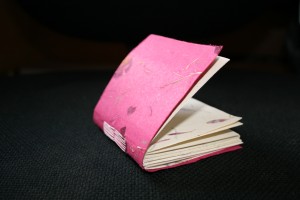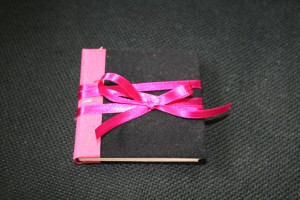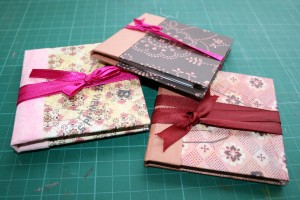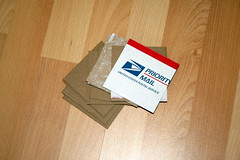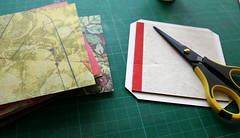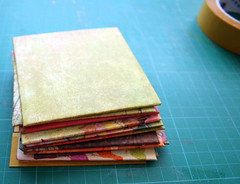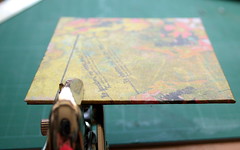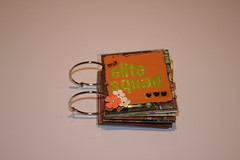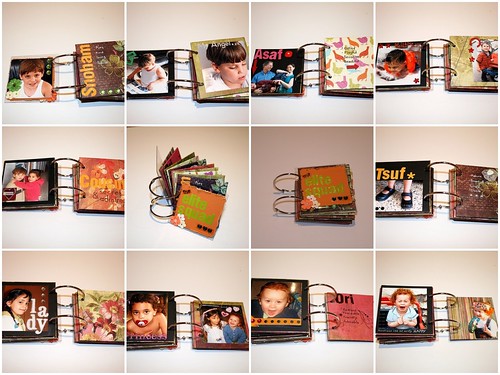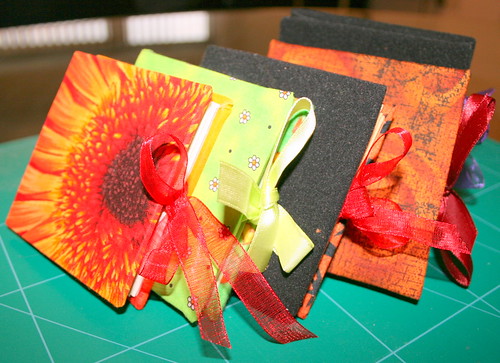
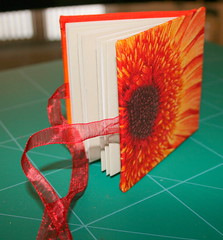
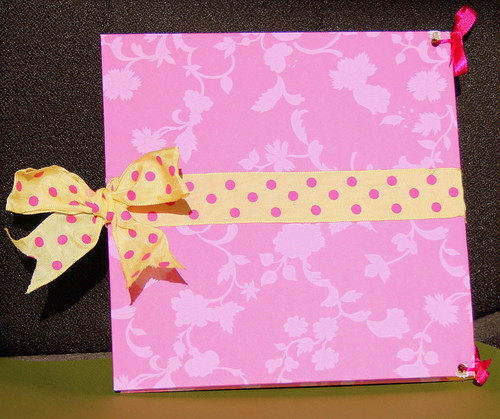
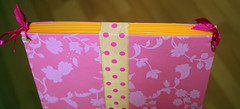
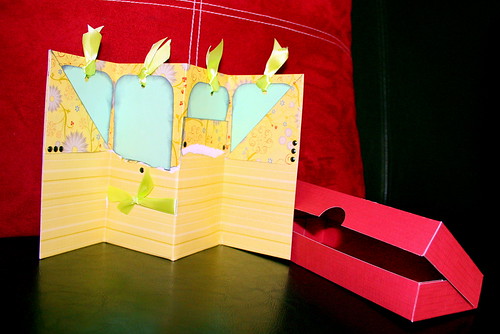
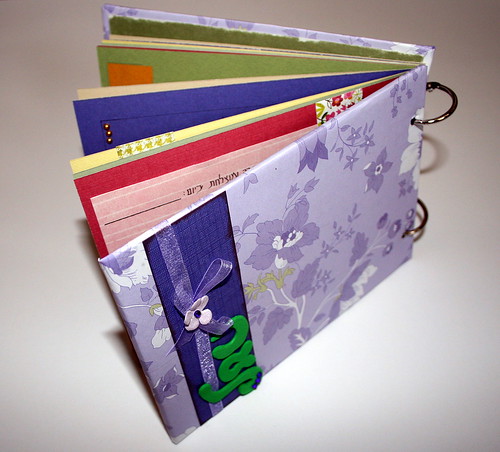
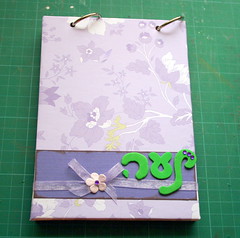
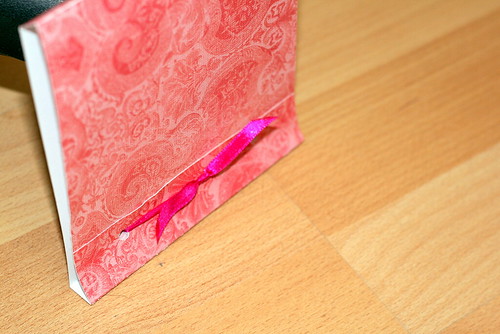
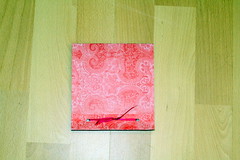
This week’s Creativity Prompt is to make a cute mini album, or journal – what ever you wish to use that for – using a single sheet of cardstock and a couple of chipboard squares (or recycled cardboard…). For a special touch I covered the chipboard squares with fabric, and it turned out fabulous 🙂
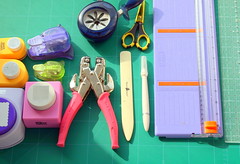
Supply –
- Cardstock
- Chipboard
- Ribbon
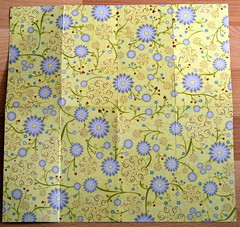
- Fabric strips (2 strips per album, 5″ by 5″ each)
- Scissors
- Ruler
- Stylus
- Glue stick
- Tape runner
- Double sided tape
Instruction –
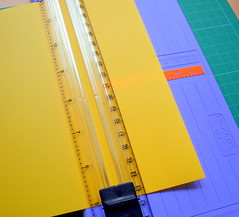
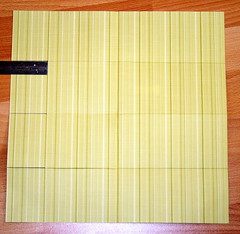
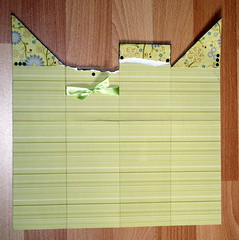
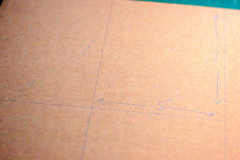
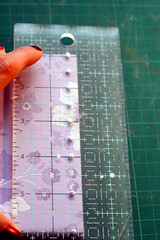
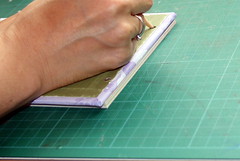
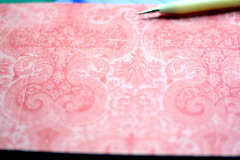
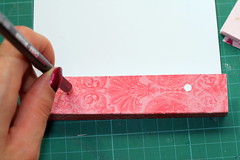
- Score the cardstock at: 3″, 6″ & 9″ (every 3″). I used a stylus for the scoring.
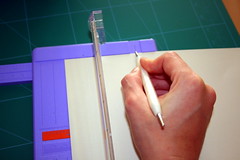
- Flip the cardstock sideways and score it at: 3″, 6″ & 9″. You should end up with a grid of 3″ by 3″ scored squares.
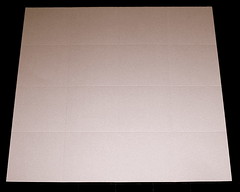
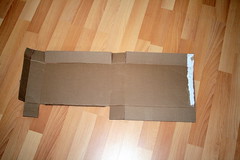
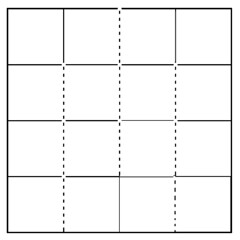
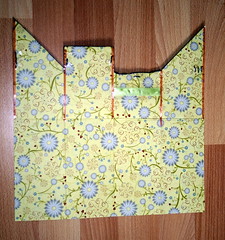
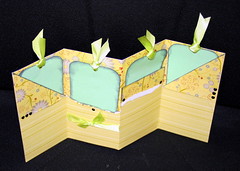
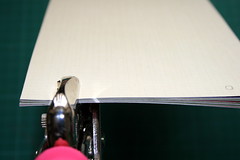
- Cut 9″ along the score lines of one side of the cardstock, alternating between cutting top to bottom and cutting bottom to top. The template below might help to understand it better:
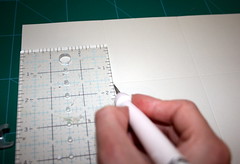
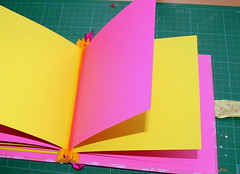
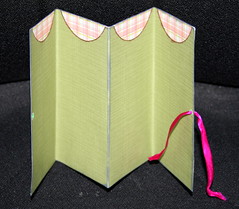
- Fold each score line in an accordion fold (once up and once down) until you are left with a 3″ by 3″ booklet.
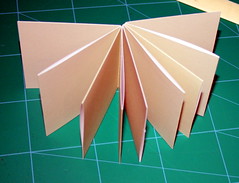
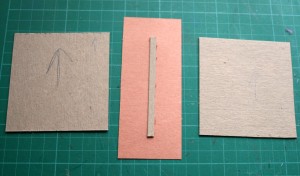
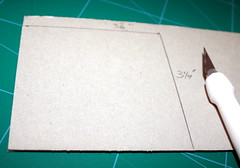
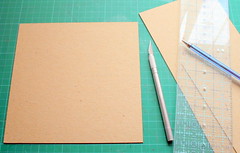
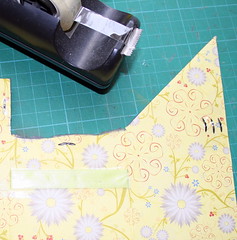
For making the little booklet sturdier, I adhered the inner pages on one side, using a tape runner (you can also use a glue stick, although it’s much messier). - Cut two chipboard squares at 3¼” by 3¼”.
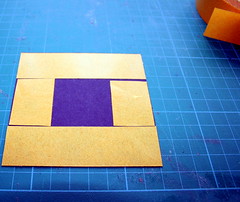
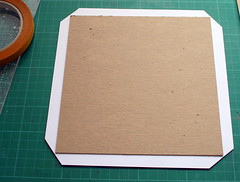
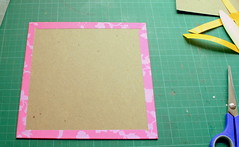
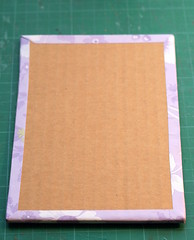
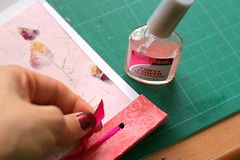
- Generously apply glue with your glue-stick to one side of the chipboard and adhere it to the center of the fabric strip.
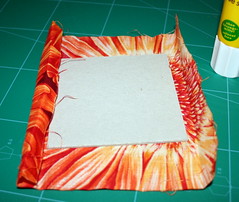
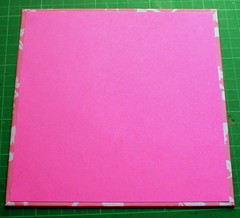
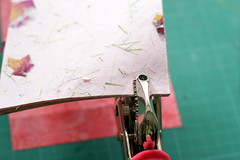
- Cut the corners of the fabric strip in an angle, and leave about a ¼” (or more) from the chipboard edge.
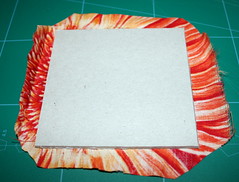
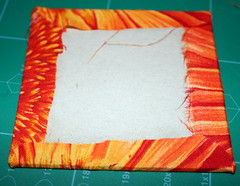
- Adhere the remaining fabric flaps to the chipboard with your glue stick. First adhere two flaps which are opposite to each other and then adhere the remaining two flaps, while tacking in the corners for a neat fold.
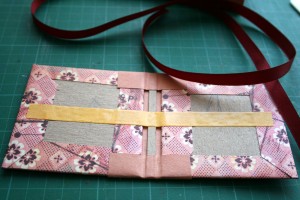
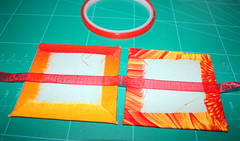
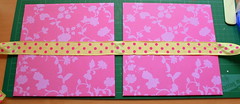
- Position the two covers, wrong side up, about ½” apart from each other. Apply a strip of a strong double sided tape to the middle of each cover and adhere the ribbon to it – while keeping the ½” gap. Make sure the ribbon is long enough to allow tying the mini-album in a nice bow.
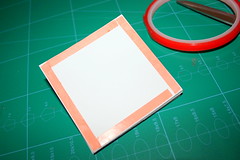
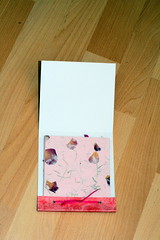
- Apply double sided tape to both sides of the mini booklet – make sure to cover all the edges.
- Adhere the booklet to the inside of the cover and voilà !!!
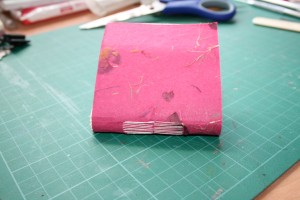
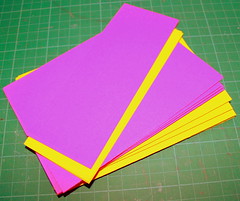
If you happen to cut the cardstock in the wrong direction (e.g. cutting from top to bottom consecutively) don’t worry. I had accidentally done that and created a great project out of it. Stay tuned for the instructions on next week’s Creativity Prompt!!!
Enjoy!!!
If you have any question, suggestion or remark – don’t hesitate to contact me – either leave a comment, use the contact form or start a new thread on the Creativity Prompt Flickr Group!!!
I would also be very happy to see your own creations, so don’t be shy and share 🙂
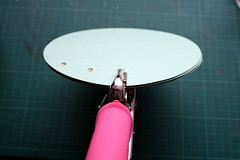
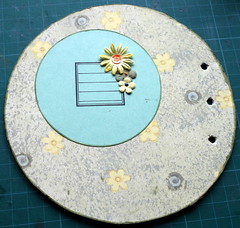
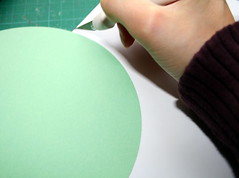


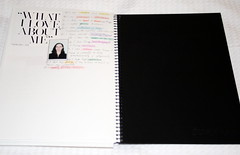
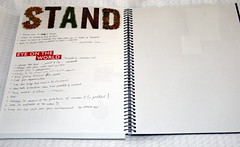
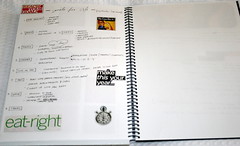
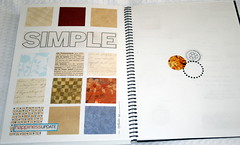
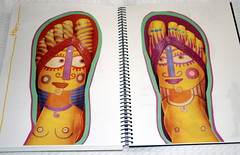
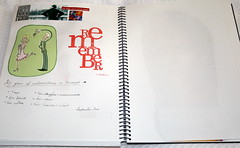
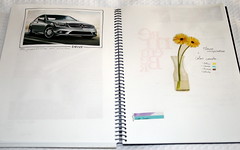
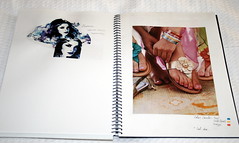
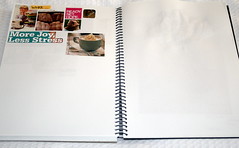
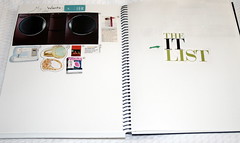
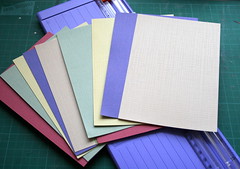
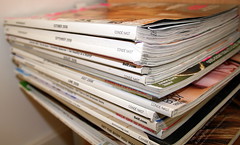 Gather a bunch of magazines, a second before they’re tossed into the recycling bin.


![Reblog this post [with Zemanta]](http://img.zemanta.com/reblog_b.png?x-id=ba015f8c-b31f-458d-950b-fbb8ff87fa4c)

![Reblog this post [with Zemanta]](http://img.zemanta.com/reblog_b.png?x-id=7bb7c0c2-91d3-4322-a395-829a6968bda7)






![Reblog this post [with Zemanta]](http://img.zemanta.com/reblog_b.png?x-id=7ba11501-8ec4-428b-8ed2-40e1f7fc885a)
