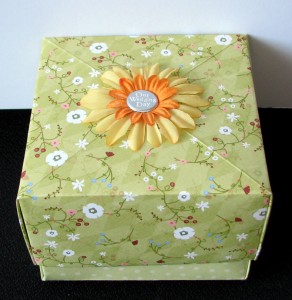
 A couple of weeks ago my husband and I celebrated our first wedding anniversary. I couldn’t believe a year has already passed by, but it was a fabulous and an adventurous year for the two of us. Leaving our families and friends and moving to a foreign country in another continent had been quite an experience for us, but together we can really conquer all.
As a wonderful gift, my husband bought me a brand new digital SLR camera, Canon Rebel XTI. He also told me the sweetest thing, he said he didn’t need a present as giving me a gift is already a present for him. Isn’t he the cutest?
Well, I couldn’t really follow his request, could I ?! So I have decided to give him something handmade. Something that can reflect my great love for him and the journey we have made together. Additionally, I wanted it to be something he can always carry along with him. Something which is small in size but big in value.
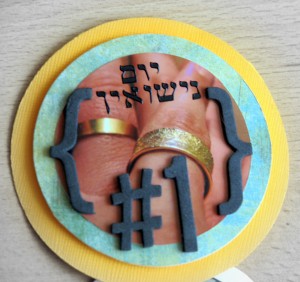
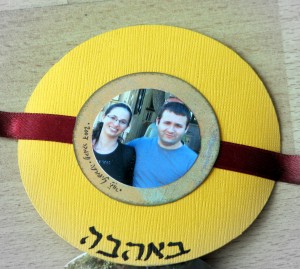
Eventually, I have made him a circular pocket album with pictures that showcase our life together over the past few years and in my journaling I was counting the ways in which I love him. If that idea sounds interesting for you (you can adapt the theme to fit your own milestones in life), here’s a quick tutorial:
Supply –
- Coluzzle cutting system (If you have a die-cut machine, you can also use that)
- White card stock (as many as you need)
- 1 sheet of Orange card stock
- Patterned papers
- Journaling spots (I made my own journaling spots by using stamps)
- Adhesive
- Ribbon
- Embellishments
Directions –
Cut your card stock into strips the width of your desired diameter (mine was 2 ¾ “).
Score the length of the strips by the desired diameter, making it about a ¼ †short (in my album, each 2 ½ “). Fold the s
trip, following your score lines, in an accordion fold.
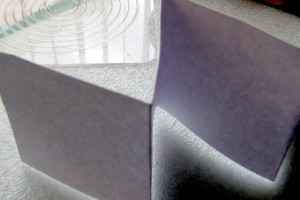
Put your circle template on your folded strip and select the size which fits your desired diameter. Make sure you don’t cut all the w
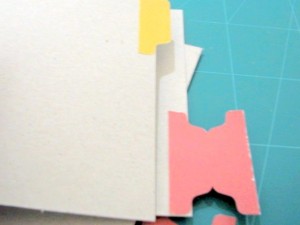
ay through the folds (this is why the score lines were a tad shorter). On the other hand, also make sure your template fully covers your folded strip, except for the folded part (The photo below is a good example for what you need to avoid – when the template exceeds the stripe at the bottom). If you feel uncomfortable with the cut, make a template out of scrap papers and try to cut it first and make sure you get it right before cutting through the card stock.
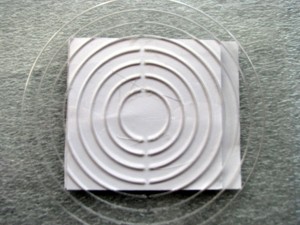
Repeat the former two steps until you have enough circles for all your photos and journaling spots. While calculating how many stripes you need, take the following under consideration:
a. You are using both sides of the circles, so multiple the number of circles you’ve got by 2 (I’ve had 4 circles, so that’s 8 pages);
b. Subtract 2 pages out, as the cover, or the next and former strips will be attached to it.
Attach the strips together by mounting the last circle of one strip to the first one of the other. Make sure that the direction of the accordion fold is kept.
For the covers, make 2 more circles, ½ “ larger in diameter from the orange card stock.
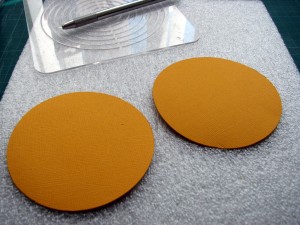
Adhere th
e ribbon to the bottom cover, in a way that the middle of the ribbon would be on the middle of the cover circle.
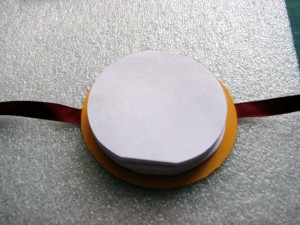
Crop your photos to feet the circle pages and put the pocket album together.


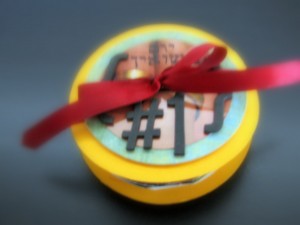
Adhere the 2 cover pieces to your accordion album and embellish.
 This is the forth entry in the observation series. The first one was about
  Subscribe in a reader
 Subscribe by Email
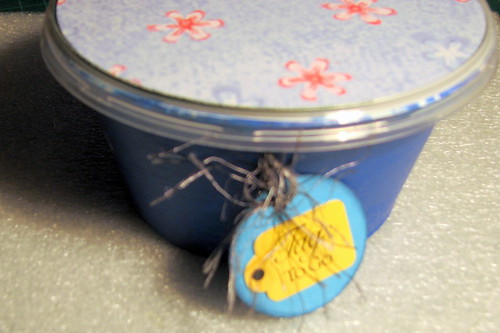
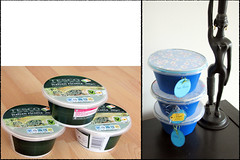 The global warming is a disturbing fact and it is up to us to lead environmentally friendly life. One of my ways of doing so is by using alchemy (a.k.a: recycling). I always think of ways to give a new lease of life to used objects and practically making something out of nothing.



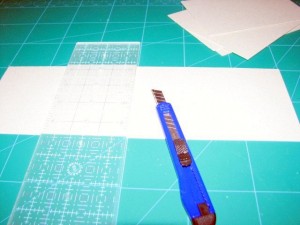
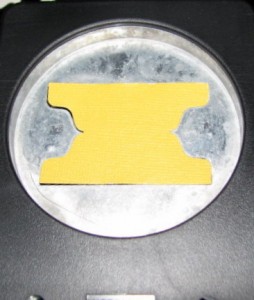
 This is the second prompt dealing with observations. Last week’s prompt dealt with


