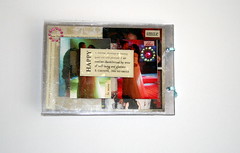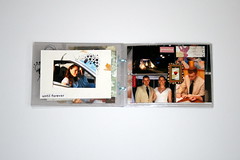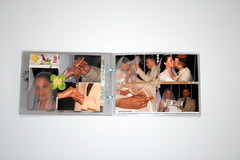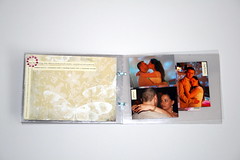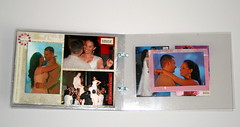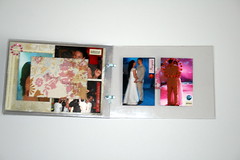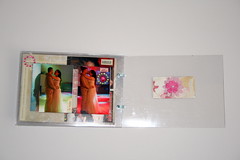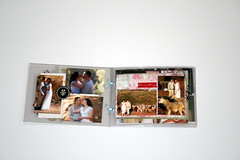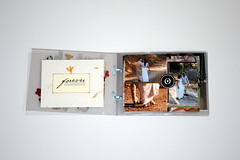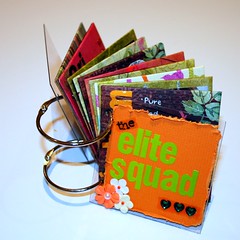
Due to the vast popularity of the former “turn your trash into treasure†post, I have decided to make a series of posts, concentrating on using recycled objects to create art.
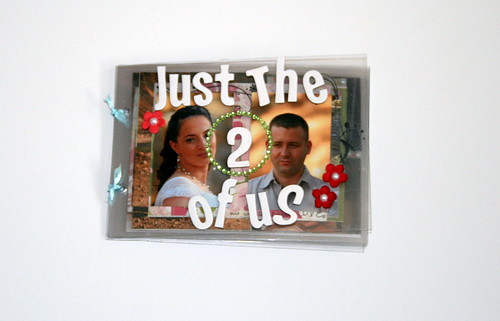
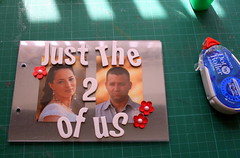
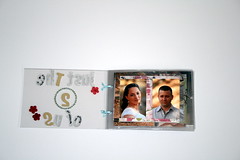
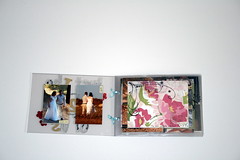
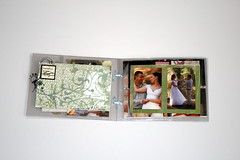
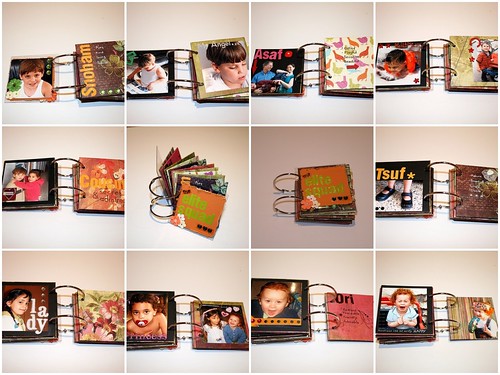
On this week’s creativity prompt I am going to show you how I have made a beautiful mini album, featuring my 3 nephews and niece, also known as “the elite squad“, using a USPS priority mail box.
Instead of throwing the box to the bin I salvaged it by taking it apart and cutting it to 3½ by 3½ inch squares. After covering the squares, punching them and putting a ton of embellishments on them, no one can tell they were taken out of the garbage bin 🙂
By making the album out of this box, I am not only helping the environment by the mere act of recycling but also by not using a brand new album or a new chipboard sheet, made out of newly chopped trees… I guess I can call it a mindful use of finite natural resources and the results are pretty cool, as you can see yourself.
So here goes this week’s tutorial:
Supply –
Cardboard box (not necessarily USPS’s box).
Patterned paper and black or craft cardstock.
Adhesive – glue stick, tape runner and double sided tape.
Basic – ruler, scissors, craft knife and a cutting mat.
Crop-a-dile
Binder’s rings
Embellishments – clear your stash & go crazy!!!
Instructions –
1. Take the box apart and flatten it up

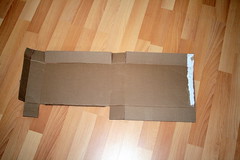
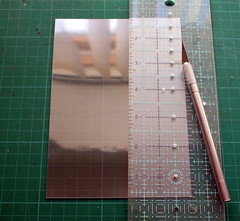
2. Measure and cut the squares
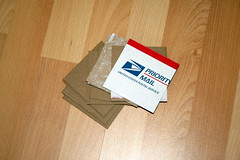
3. Cover up the squares the same way you’d cover a journal bind – cut a bigger piece of patterned paper and apply glue stick to the cradboard square. Adhere the square in the middle of the patterned paper piece and cut all the edges in an angle, then adhere the flaps you have created to the cardboard.
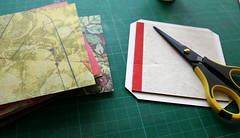
4. Cut 3½ inch squares from the black cradstock to cover up the other side of the cardboard squares. (As I was using a very colorful and busy patterned paper for covering the cardboard squares, I chose to cover up the other side with a black cardstock. I would have used craft cardstock, had I had any…. but the main idea is to use the supply you already have.)
5. Adhere the cardstock squares to the uncovered cardboard with double sided tape, to insure a sturdy hold.
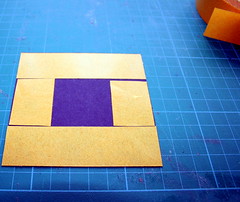
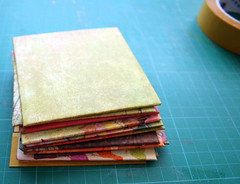
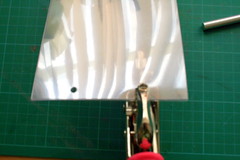
6. Punch your finished covered squares with the crop-a-dile (¼ inch from the side edge, 1¼ inch of the top and bottom edges).
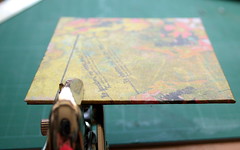
7. Attach all the squares together with the binder’s rings and start adhering the pictures and writing the stories to go along with your pictures.
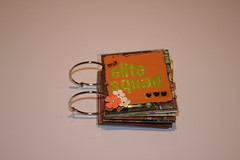
You can take a peek at my finished mini-album here.
Please share your recycled creations with me by leaving a comment!
 Subscribe in a reader
 Subscribe by Email


