/** Font types */

Author Archive

Creativity Prompt – Working With Sketches – Cards

Friday, May 8th, 2009

Working With Sketches - CardsWhenever I feel uninspired I try to change the way I go about my work. Lately I have been feeling I am getting into a creative rut and just haven’t been feeling “in the zone”. That’s why I have decided to get out of my comfort zone (which is designing “as I go”) and try something I do not usually do – plan the project in advance…

I went ahead and used my Adobe Photoshop Elements 7.0, that makes my life a lot easier, but the same can be achieved with a simple grid paper, a ruler and some shape templates.

The benefits of using a sketch

  1. Seeing the big picture. Sometimes only after the fact I see that some elements don’t go well together. The scale isn’t right or the space between the elements is either too big or too small. The design is too busy or too empty. By sketching the design on a scratch piece of paper (or a computer file) I can see if things work out or not, before pulling out the expensive products and adhering them down.
  2. Easy placement and measuring. Working on a grid does the measuring for you. Instead of calculating how tall and how wide should be a panel in a 3 panels design, with an even gap between the panels and the edges of the card… – you just draw the shapes and start counting the square slots… Nothing gets easier than that. Translating the sketch onto your project is easy with the use of a T-Square ruler or a grid ruler. One square on the ruler is usually the same as one square on the grid you’re working with (usually an 1/8″ square)
  3. An inspirations boost. Although it seems conversely, using a sketch with bare elements actually sparks your creativity and do not limit it. Each element in your sketch can be interpreted in a million ways. You can play with different products, textures, dimensions and so on and so forth. As the design is taken care of you are free to think about the rest of the elements without fearing it wouldn’t work out.

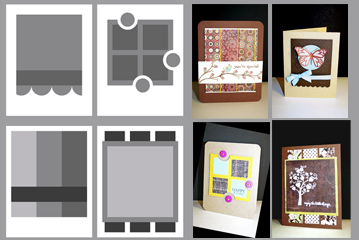
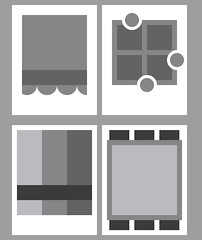
I was working on some card sketches, and this is what I came up with:

Cards Sketch

[Click on the sketch for a larger view. Feel free use the sketches for personal use]

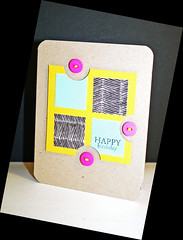
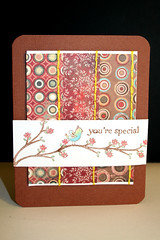
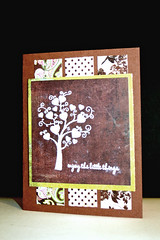
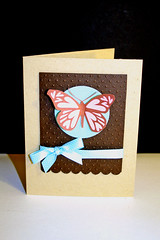
These are the cards I made using the sketches:

Sketchy Card

Sketchy Card

Sketchy Card

Sketchy Card

Take a look at how I made this last card:

Share

If you have any question, suggestion or remark – don’t hesitate to contact me – either leave a comment here, use the contact form or start a new thread on the Creativity Prompt Flickr group!!!

I would be VERY happy to see your cards based off these sketches, so don’t be shy and share – either leave a link at the comment section or share on the Creativity Prompt Flickr group‘s pool 🙂
Journaling Prompt – Indicate Mother’s Day Differently

Wednesday, May 6th, 2009

I love my mom farther than my words can reach. Therefore, for mother’s day, this year, I want to indicate my appreciation differently. Instead of going on and on about how great my mom is, I want to concentrate on the first memorable [obviously there is no way to remember the breastfeeding part] experience that created the strong bond between us.

Each mother and child have one moment in life in which they feel the bond between them is sprouting. I am aiming for this moment and trying to recall and capture it forever.

For this week’s journaling prompt write about the moment the bond between you and your mother was established.

You might want to make a copy of your journaling and send it to your mom, she will surely treasure the memory.

Variations of this week’s journaling prompt:

  • Write about the “moment” the bond formed between you and your kids
  • Encourage your kids to write/tell you what was their “moment”
  • Interchange memories of the “moment” with your mom – this moment is not necessarily the same for both of you.

I want to share my moment with you in honor of my fabulous mom:

Shortly after the beginning of elementary school I became very sick. It was probably a virus I caught up from our guinea pigs (The poor guinea pigs did not survive…). My immune system completely shut down and no doctor could provide a diagnosis. The prognoses were not positive. The doctors looked worried and perplexed. I can only imagine what my parents had gone through. I was just a small child, feeling weak and drowsy, but not aware of what’s going on.

My dad stayed with my 2 older sisters at home and my mom slept on a mattress beside me at the hospital 24/7.

I remember one night, My fever went way up and nothing they did reduced it – I had an ice wrap, an alcohol bed – you name it… The test results showed another aggravation in my condition. I felt bad and my mom encouraged me to channel my thoughts into something positive. I came up with a song about two lions hugging each other and creating some healing heat together. Rest assured I also “composed” this song and sang it very loudly and repeatedly all night long…

In the following morning something had changed. The test results started showing an improvement. A true miracle the doctors thought. I know what had cured me. Now you know what it was too.

Share

When did the bond between you and your mother sprout? How are you going to honor your mother on May 10th? Share your thoughts by leaving a comment 🙂

If you liked this post subscribe to my feed:

Inspiration Prompt – Connecting People Through Art

Sunday, May 3rd, 2009
Connecting People Through Art
[Photo by: Stuart Richards]

Art is one of the most intimate expressions of one’s soul. Whenever someone creates something artistic, he dives deep inside himself in search of inspiration and motivation. The artist seeks his inner creative child and the connection between the two is manifested by the artist’s masterpiece.

This artistic process is one of the few things that are similar in all people. Religion, nationality, gender, beliefs and opinions cannot alter this process. Therefore why not use the forceful power of art to connect people together?

After finding the common denominator of people all around the world – lets use it to spread love and friendship all over.

In the beautiful project “Playing For Change” people are already forgetting their differences and using music to connect – watch the wonderful video below and see it happens.

Why should we stop at music. Art can connect people in many different ways.

Share

How can you connect people together through art? Have you ever done that?

Please share your thoughts and experiences by leaving a comment on this post.

Bonus Creativity Prompt – Mini Tag Book For Mother’s Day

Saturday, May 2nd, 2009

Mother's Day Mini Tag Book

Mother’s Day is coming soon so I came up with a fun project for FaveCrafts that I believe your mom will treasure.

The idea is to treat your mom as your valentine and write her micro love letters compiled together in a whimsical mini book.

For Step By Step instructions, just click on the Favecrafts banner below 🙂

FaveCrafts.com Crafts, Home Decor, Scrapbooking, Quilting, and More

Happy National Scrapbooking Day – Make something pretty …

Creativity Prompt – How To Make An Accordion Fold Mini Album

Friday, May 1st, 2009

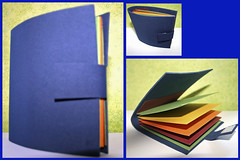
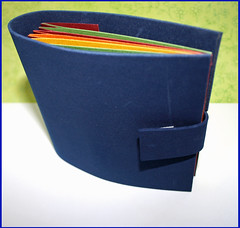
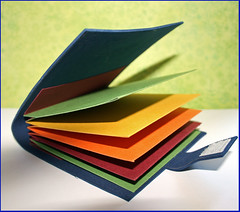
Accordion Fold Mini AlbumThere are days in which I want to color the world around me in the colors of the rainbow. Days in which some “pick me up” color treatment wouldn’t hurt. Do you also have days like these sometimes? If so, then I have the perfect project: A rainbow colored mini album with an accordion fold spine and to finish things off, it is covered in a soft fun foam. (Is it wrong to cuddle with your mini-album? I am not sure I want to hear the answer…)

So if you want to learn how I made this cutie, stay tuned and keep on reading:

Tools and Supply

how To


[Music by Josh woodward]

Step By Step Instructions

  1. To make your spine, cut your cardstock at: 4″ by 8″.
  2. Score the cardstock at 1½” on each side and then every ½” in between the initial score lines.
  3. Fold all your score lines in an accordion fold. That means a “mountain” fold (folding down) is followed by a “valley” fold (folding up). Make sure your creases are sharp by burnishing them well with the bone folder.
  4. Cut the 5 cardstock signatures – 4″ by 8″ each. Score them at 4″ and fold in half.
  5. Attach the signatures by applying a strong double-sided tape adhesive to each of the ½” folds. Apply the adhesive as close as possible to the crease but not directly on it. Apply some additional tape adhesive runner to all 4 inside edges of the signatures and attach to the spine. “Hug” each “mountain” fold in the spine with 1 signature.
  6. For the cover cut your fun foam at 4½” by 12″.
  7. Lay down your signatures on the fun foam and make sure you have enough room to cover them and then start marking the remaining flap, as follows:
    • Find the middle (lengthwise) and make two pencil marks – ½” downward and upward from the middle [That is going to help us create a 1″ flap in the middle].
    • With a T-Square ruler, draw lines that connect the edges with your tick marks – both lengthwise and widthwise.
    • Cut out the outer rectangles with your scissors.
  8. Attach the signatures to the cover with a strong double-sided tape adhesive.
  9. Attach your Velcro to the flap. I always attach the corresponding Velcro pieces together and remove the backing from both of them. Adhere one side to the flap and then close it – that adheres the corresponding piece of Velcro at the perfect spot on the cover.

Accordion Fold Mini Album Accordion Fold Mini Album

Share

If you have any question, suggestion or remark – don’t hesitate to contact me – either leave a comment here, use the contact form or start a new thread on the Creativity Prompt Flickr Group!!!

I would also be very happy to see your own creations, so don’t be shy and share 🙂

More Creativity Prompts You Might Like:

Journaling Prompt – List Your Current Favorites

Wednesday, April 29th, 2009
List of favorites
[Photo by: liz_com1981]

Were you ever asked what is your favorite song? book? movie? destination? I was. Many times. I seem to easily find the answers, but each time I am asked again – the answers change.

My favorites keep on changing based on periods in life, mood, trend, different experiences, etc.

Therefore I think compiling a list of favorites and updating it monthly, annually or at any other rate that works for you, might be a great journaling prompt.

This is going to serve as an important document of your life, perpetuating various thoughts, moods, fashions and trends in a course of a year, several years or however long you choose to update your Catalog of Favorites.

This week I am prompting you to make a “FAVORITES” scrapbook or journal.

So grab a new journal and start documenting:

  1. What is your favorite book?
  2. What is your favorite song?
  3. What is your favorite color?
  4. What is your favorite destination?
  5. What is your favorite memory?
  6. What is your favorite TV show?
  7. What is your favorite movie?
  8. What is your favorite food?
  9. What is your favorite dessert?
  10. What is your favorite treat?
  11. What is your favorite car?
  12. What is your favorite piece of clothing?
  13. What is your favorite fashion accessory?
  14. What is your favorite perfume?
  15. What is your favorite leisure activity?
  16. Who is your favorite author?
  17. Who is your favorite actor/actress?
  18. Who is your favorite singer?
  19. Who is your role model?
  20. Where is your favorite place to be?

You can go ahead and answer all those question, you can add more questions or pick your favorite 10 and answer them annually, or monthly or once in a blue moon… Whatever works for you!

For an additional “historic value” try to find images that correspond to your list of favorites – either take them yourself with your handy-dandy camera or give Google Images a try and combine those images in your list.

Share

Have you noticed a change in your list of favorites? Would you like to follow and observe your favorites? What are your current favorites? Leave a comment and share with us 🙂

If you liked this post subscribe to my feed:

Inspiration Prompt – You Are Great

Monday, April 27th, 2009
You Are Great
[Photo by: Pardeshi]

A friend of mine linked to a bunch of inspiring videos on twitter, among which this short movie by Kurt Kuenne has appealed to me the most (shared below). Everyone needs validation. (some people less than others). How lovely it is to hear “You are great” in a way that sounds genuine and sincere. It prompts a smile and warms one’s heart. It is wonderful.

If you haven’t heard it today, I wanted to tell you that YOU ARE GREAT. Yes you are.

You might live routinely – day in and day out – without noticing how amazing you really are. Without appreciating how beautiful you are. Without recognizing your accomplishments. Without smiling. Now is the time to stop for a split second and recognize how amazing you really are.

while a smile is starting to form, the heart to warm up and widen, validate a person standing near by and looking all gloomy and blue. Tell this person how amazing he is. Make him smile. You will feel even more amazing, so will this person – and the person he’s going to validate next, and the one validated afterward.

Lets make this world filled with happy and smiling people by validating forward.

Share

Let me hear your thoughts and leave a comment on this post 🙂

Have a great day wonderful person!!!

Creativity Prompt – How To Scrapbook With Busy Patterned Papers

Friday, April 24th, 2009

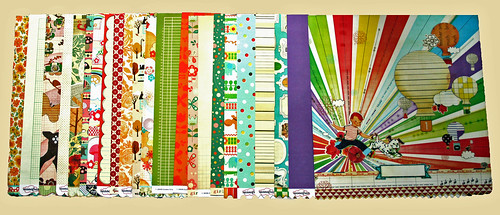
My patterned paper stash

I am very susceptible to visual stimuli. That means that the recent wave of insanely cute patterned papers has driven me mad. I had to have it all (or at least everything that wasn’t already sold out). The problem starts when I get those papers and feel stumped. All of these busy patterns, as adorable as they are, are making it hard to use the patterned papers on my layouts.

Saying that, there are a couple tricks under my sleeve. Just a few pointers that can help you make use of these patterned papers rather than just hoarding them. If you are interested then keep on reading.

The Patterned Paper I used on my layouts

[Click on the photos if you want to purchase these papers at Two Peas In A Bucket]

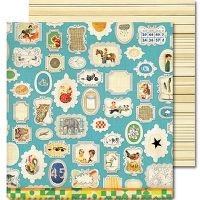
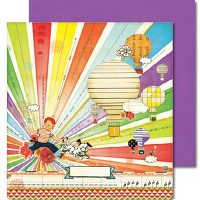
Wall Of Fame 12X12 Anthem Paper By Sassafras Lass

Dream Big 12X12 Anthem Paper By Sassafras Lass

Pal Parade 12X12 Bungle Jungle Paper By Sassafras Lass

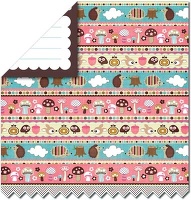
Fun Filled Forest Hog Heaven 12x12 paper By Sassafras Lass
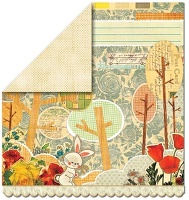
Say Timber Woodland Whimsy 12x12 paper By Sassafras Lass
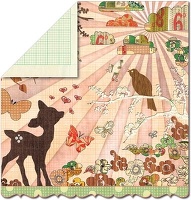
In Love Fawnd of You 12x12 paper By Sassafras Lass
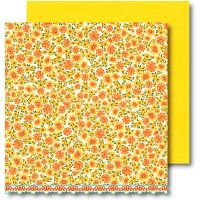
Blossomed 12X12 Vintage Yummy Paper By Sassafras Lass
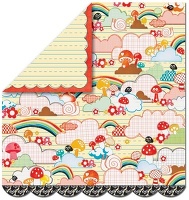
Over the Rainbow Happy Place 12x12 paper By Sassafras Lass
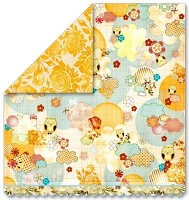
Piccadilly 12x12 Pocket Full of Rosies Paper By Sassafras Lass
Sunday Girl Friday Paper By Cosmo Cricket
Thursday Girl Friday Paper By Cosmo Cricket
Wednesday Girl Friday Paper By Cosmo Cricket
Cozy Home Weathervane patterned paper By October Afternoon
Gingerbread Good Cheer patterned paper By October Afternoon

TIP 1 – Use strips of the patterned paper

using a strip of patterned paper Rather than using the paper in its entirety and being overwhelmed with the busy pattern, just cut a 2″ by 12″ strip and use with a solid cardstock, accentuating the colors in this strip.

Many manufacturers offer patterned papers that already have strips of different patterns on them. That gives you a great bang for your hard earned buck.

Tip 2 – Punch or die-cut your patterned papers

Punching out the patterned paperThis technique also helps by scaling down the busy pattern. Using just a punched portion of the paper adds color and cheerfulness but doesn’t overwhelm the eye.

Tip 3 – Use portions of the patterned paper in a grid

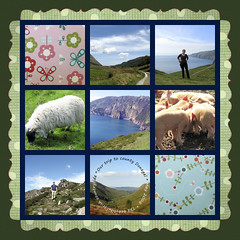
Use portions of the patterned paper in a gridThis technique is quite similar to the latter, designed to scale down the business of the pattern by using a small portion of it.

However, this technique also adds another advatage which is the grid itself. The grid (whether it’s a grid of squares, circles, ovals, rectangles, etc.) helps to “organize” the layout and give a home to all the elements, as well as maintaining an even proximity between the different elements. These traits make the layout look cleaner, thus more forgiving to busy patterns.

In this layout I also used the special edges that come with the Sassafras Lass’s papers as a border to my grid.

Tip 4 – Cutting out elements from the paper’s pattern

Cutting out elements from the paper's pattern Working with the busy pattern may be difficult, but you can think of the patterned paper of a sheet of die-cuts (only you have to cut the elements yourself…).

Cut out the elements, without confining yourself to a certain shape or size (like you do when using punches or die cut machines). The possibilities are truly limitless.

Pair those die-cut shapes with a solid cardstock and a natural color palette and you’ve got yourself a personalized pattern, seen only on your layout.

Tip 5 – Restrict the color in your photos and other elements

When you want to convey a whimsical message with your layout, you might want to use the entire patterned paper. However you would like to tone down the color of the rest of the elements on your layout.

Use solid colors for your title and photo mats, either neutral or taken from the same color palette of the patterned paper.

You can also apply a light wash of acrylic paint on top of the patterned paper to tone it down a bit.

Don’t add too many embellishments. If you want to add more interest just cut down some of the elements and pop them up with foam dots.

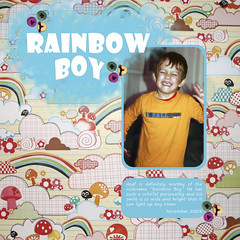
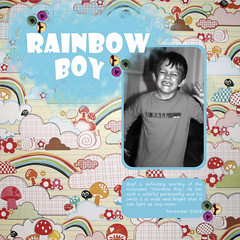
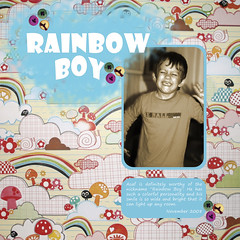
Choose photos that has only one dominant color or change them to black and white or to a sepia tone. Below you can find an example of all three photo options (Altered in Adobe Photoshop Elements).

Restrict the color in your photos -color Restrict the color in your photos - black and whiteRestrict the color in your photos - sepia

You may also like this post:

Use Those Paper Scraps

Share

I hope this post has been helpful to you. I hope you will give those cute patterned papers a second chance.

If you have any question, suggestion or remark – don’t hesitate to contact me – either leave a comment here, use the contact form or start a new thread on the Creativity Prompt Flickr Group!!!

If you have more pointers on using busy patterns, I would love to hear them. Just leave a comment on this post.

I would also be very happy to see your own creations, so don’t be shy and share 🙂

On The Catwalk – Tim Holtz Distress Inks and Blending Tool

Thursday, April 23rd, 2009

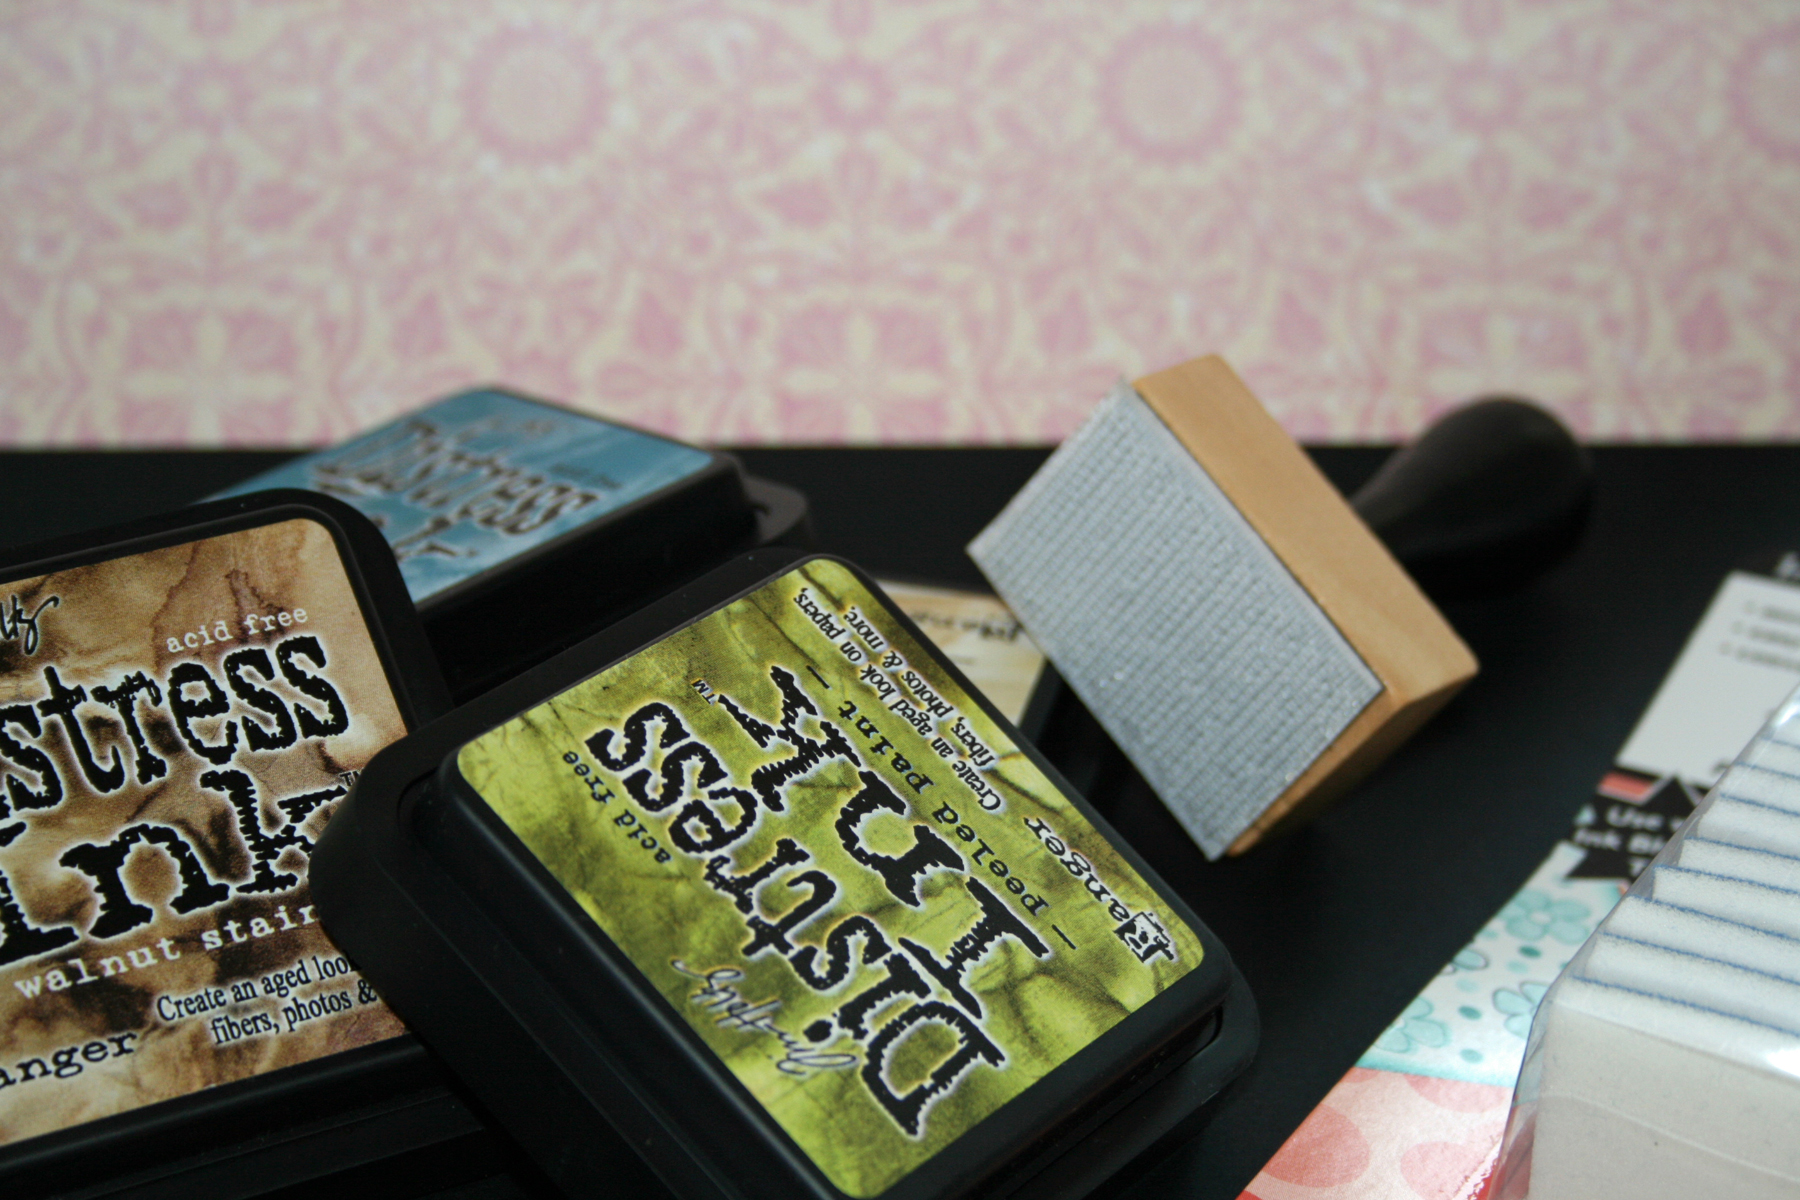
Distress Inks and Blending Tool The grunge, vintage and distressed look seem to have always been “in style”. this look adds a fabulous touch to a project and makes it look like an handmade, one-of-a-kind piece of art (which is a great look to have, don’t you think).
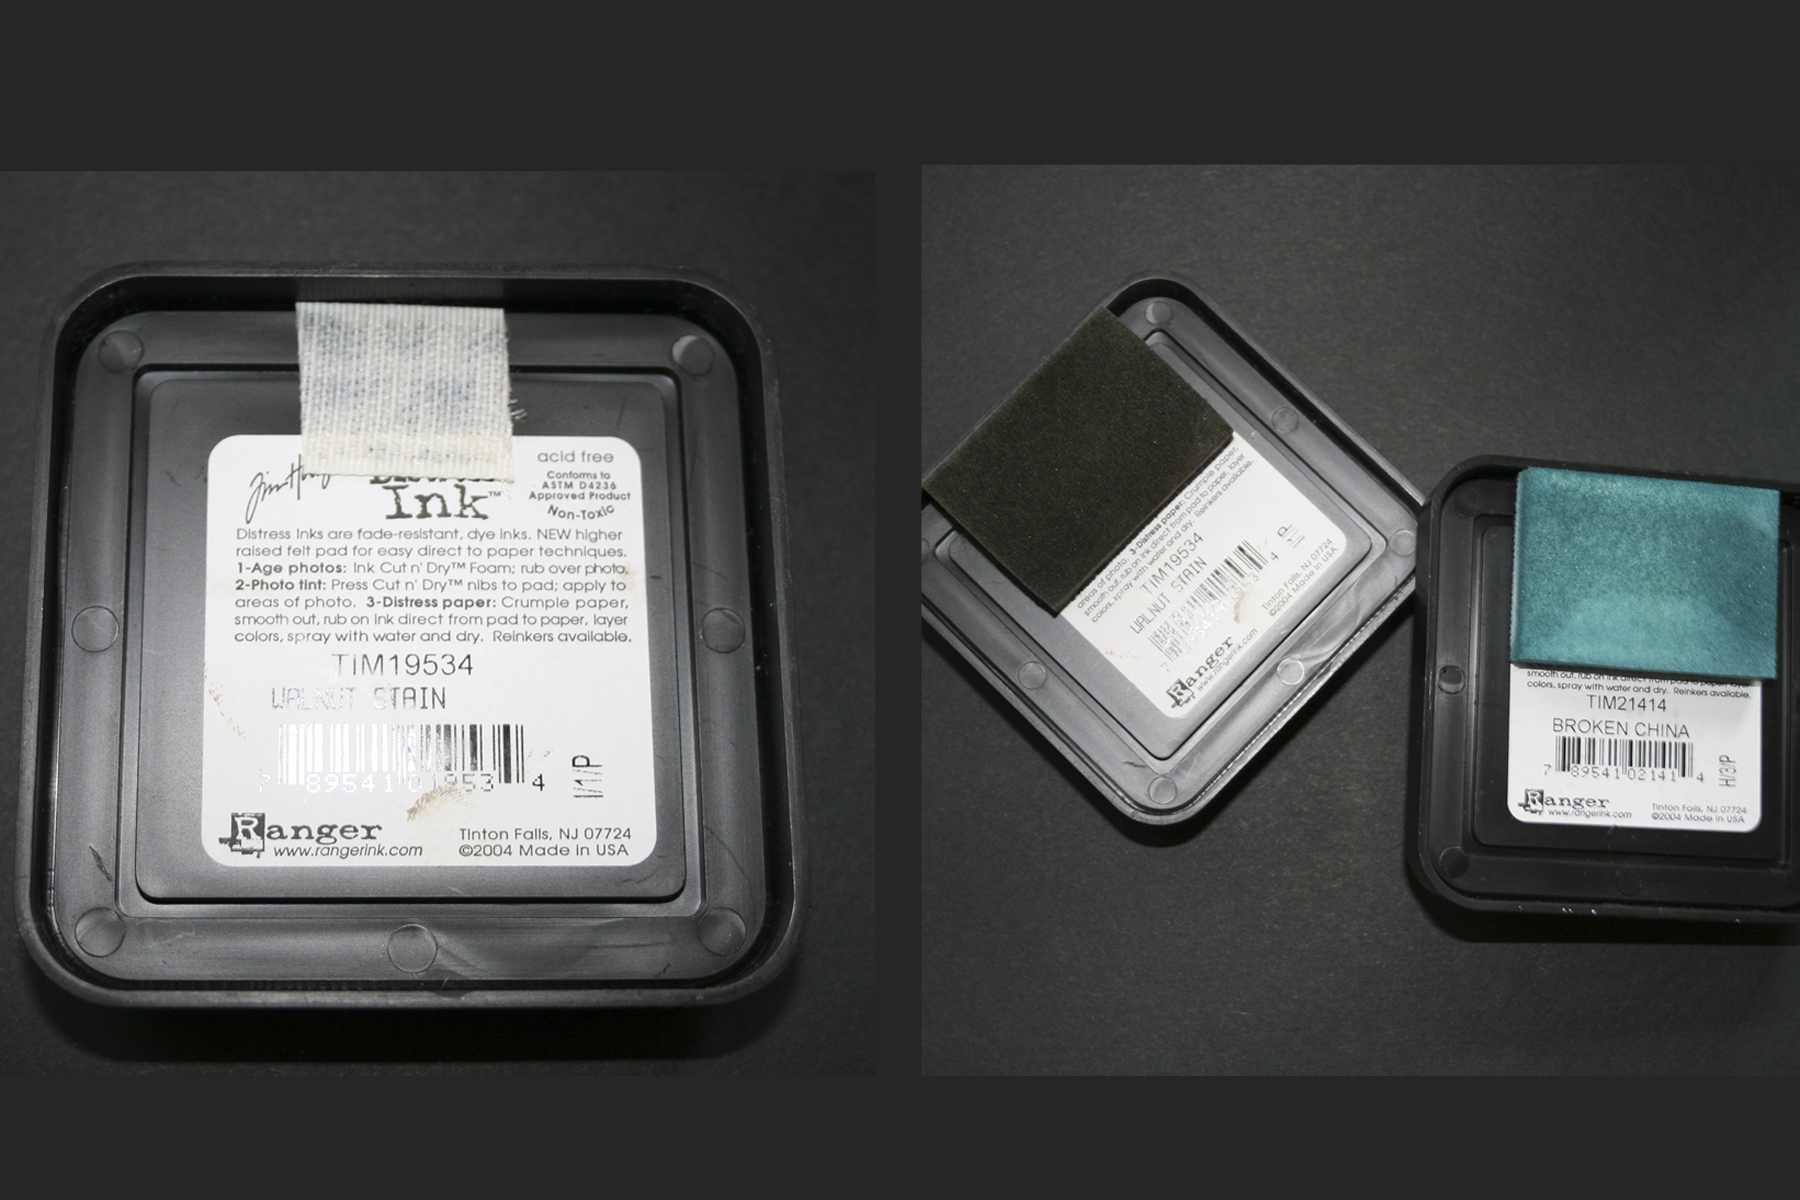
Tim Holtz is well known for creating wonderful altered art with a characteristic distressed look. Therefore it isn’t surprising that he came up with a line of products for Rangers Industries designed to help getting this one of a kind look.

On this post I am going to review Tim Holtz’s distress inks and foam blending tool.

Overview

The distress ink is an acid free dye ink with an agent that delays drying, which makes those inks more blendable.

The foam applicator is basically a tool with a wooden handle and interchangeable foam applicators, designed to absorb the distress ink and apply it moderately and with more control to the altered surface (paper, cardstock, chipboard, fabric etc.).

Using these tools together you can conquer the world create a special distressed look, tint photos and apply a color wash to porous surfaces.

I like 🙂

Pros

  • Gorgeous colors. The designers at Ranger Industriess really did a great job at picking up the colors for the ink pads. They are absolutely beautiful.
  • Compatibility. Ranger has an entire line of distress inks, paints and embossing powders and all the colors matches perfectly, which makes our life easy when coordinating colors on our projects.
  • High quality. Those ink are really excellent. They are vibrant and won’t fade. When you apply the ink it appears to be very vibrant and gets more subtle once it’s dried. However, after the color is set, it stays there magnificently.
  • Inexpensive. For their size, the ink pads are really inexpensive. The blending tool is also inexpensive if you have more than one ink pad, as the interchangeable applicators are coming in a pack of 10 (The basic handle comes with 2 applicators as well)!!!

Cons

  • highly addictive. After you get a couple ink pads, you start developing an appetite and although these ink pads are inexpensive individually, the price does add up when you start a collection (and you need a different foam applicator for each color). I wish they had small queues, like Clearsnap’s colorbox chalk inks.
  • Staining. Once you’ve got some distress ink on your fingers, it doesn’t come off. No matter how long you are going to wash it with soap and water… I’ve been trying to avoid contact, but it’s impossible. You have to touch the applicator in order to replace it… If you have any tips on that matter I’d love to hear them!
  • Packaging. The ink pads are designed to stack together on top of each other, which is great, BUT the cap seems to have a will of its own and it magically opens all the time. It wouldn’t be such a big problem if the ink wasn’t that powerful (and staining => see above). A larger inking surface will be appreciated too, as this ink is PERFECT for background stamps.

Tips

  1. Foam applicators storage. Ranger does have a special Craft Spinner for storing the applicators. But it works only for the tool itself, and doesn’t answer the need to store the applicators themselves and it’s also a bit pricey.

    I came up with a nifty idea that I want to share with you. Just cut a small Velcro piece with a self adhesive back and adhere it to the base of the ink pads. The applicator will stick on it and you can easily know what color ink the applicator is for. (Just make sure to store the ink pad upside down so it won’t stain your drawer or shelf and it will also keep your ink juicy).
    Storage Tip

  2. Ink application.
    • For inking up the edges of your paper or cardstock, tilt your applicator in 45 degrees and gently pass it across the edge. The harder you press on the applicator, the thicker and less precise the inking will get – so instead of applying pressure on it, just repeat the application over and over until you get the desired result.
    • For distressing the surface itself, hold your applicator straight down, start from the outside and go in with swirling motions.
    • You can also cut the applicator to smaller pieces if you want to ink up smaller surfaces or ink with more control – this technique can also help if you want to add a tint to a black and white photo.

These are some cards I have made, using the distress inks:

Cards - using distress inks

This review is unsolicited. I paid for the products I was reviewing here in full.

Share

Have you ever used distress inks? If so, how did you find them?

I hope this review has been helpful for you, I’d love to hear your thoughts, so leave a comment on this post 🙂

Similar posts:

Journaling Prompt – Exercise your Journaling Muscle

Wednesday, April 22nd, 2009

Hone your writing skills Every bit of journaling that comes from the heart is a good journaling. Saying that, many times we have such a precious memory to keep or a thought to treasure that we feel stumped. We don’t seem to find the right words to write. We just feel like our journaling muscle is a bit rusty and ragged.

My initial advice is to just write. You can either write everything down on a scratch piece of paper and edit select the highlights later –or– to go ahead and just write (which is what I usually do).

However, if you insist on honing your writing skills then I have the perfect exercise for you – it will stretch your journaling muscle and will make you sweat words and sentences like there’s no tomorrow.

For this week’s journaling prompt we are going to exercise our journaling muscles by putting our words through a mood swing.

Start by writing down a single paragraph. Write about your day. Write about a recent vacation you’ve had or about the fact you haven’t been out on vacation for a lo-o-o-ong time. Write anything (even a one-paragraph-short-story).

Now write this paragraph down, again-and-again, each time with a different dominant tone:

  • Dramatic.
  • Romantic.
  • Humorous.
  • Journalistic (newsworthy…)
  • Sarcastic.
  • Sad. (Think obituary)
  • Happy.
  • Mad.
  • Hopefull. Zen induced…
  • Childlike. (riming?)

Have fun at the word’s gym 🙂

Share

Do you struggle with your journaling sometimes? Did you find this exercise helpful? Share your thoughts and share your work by leaving a comment on this post.

These prompts might be helpful as well:

If you liked this post subscribe to my feed: