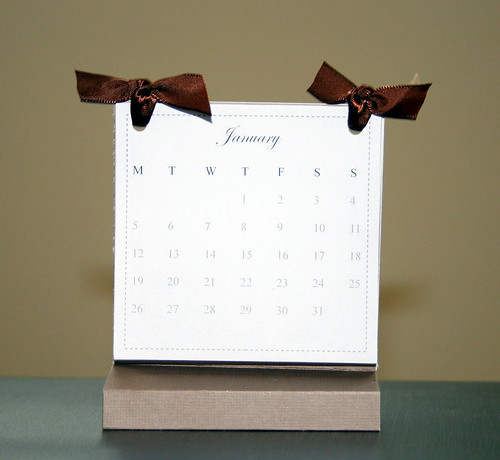
The year 2008 is coming to an end. It is time to start planing the glorious 2009 which is right at the corner. Wouldn’t it be wonderful to start the year to come with a handmade calendar, to stand beside you as a reminder of how awesome you are all year long. If you are interested – keep on reading for a step-by-step instructions and a FREE 2009 Calendar download.
Supply –
- 2009 Calendar template (download by clicking on the link above).
- Cardstock
- Double Sided Tape
- Loose leaf rings/ribbon (I prefer the rings, but I didn’t have any at home, so I used Paper Trey’s ribbon instead)
Tools –
- Paper trimmer
- Bone folder
- Ruler + craft knife + cutting mat
Step By Step Instructions –
- Print the calendar template (either on cardstock or a regular copy-paper). Cut down the individual months’ boxes with an 1/8″ margin from the dashed frame. Use the marks on your ruler for the alignment and cut with a craft knife.
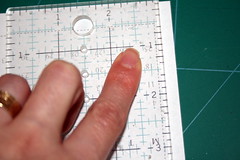
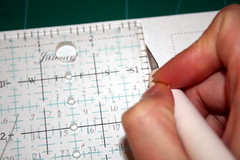
Work on each of the printed pages individually, as they are not perfectly aligned to each other. - Cut your cardstock at 3½” by 12″.
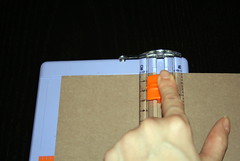
- Score your cardtock strip (widthwise) at: 3½”, 4½”, 5″, 7″, 7½”, 8½”. I used the paper trimmer and a bone folder for the scoring.
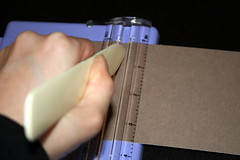
- Fold all the score lines and burnish with the bone folder.
- Apply two strips of strong double sided tape to both ends of one of the 3½” flaps. It doesn’t matter which of them you choose to apply the tape to.
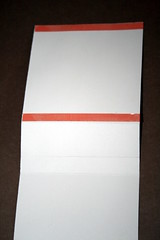
- Align both 3½” flaps together and adhere them. That should form the calendar’s stand.
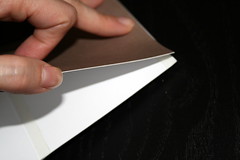
- Group all the months’ boxes together and align them on the top flap of the calendar’s stand. Punch 2 holes right below the top edges of the dashed frame. (I was using a crop-a-dile).
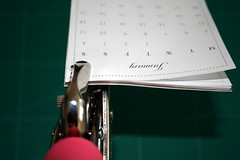
- Attach all the layers together with the loose-leaf rings or the ribbon and you are done!!!
Enjoy!!!
If you have any question, suggestion or remark – don’t hesitate to contact me – either leave a comment, use the contact form or start a new thread on the Creativity Prompt Flickr Group!!!
I would also be very happy to see your own handmade calendars, so do share 🙂
Tags: calendar, creativity, creativity prompt, Tutorial


Oh perfect timing and oh-so pretty! Love it, I’ll be linking.
Thanks!
What a neat project! Thank you!
You are very welcome! Thank YOU!
Do you have one for 2010??? This is so cute!
Thanks. I haven’t done a 2010 one… Though I do have the “Make Your Own Planner” workshop for 2010: http://www.creativityprompt.com/new-workshop-make-your-own-planner/
I adore the valuable info you offer in your post. I will bookmark your site and have my family check up here oftentimes. I am quite sure they will learn lots of new stuff here than anybody else!
Hey ! calendar looks great! i wanted to know how is the calendar standing? did u make something at the bottom? Please tell me 🙂 ~thanks
Just put some weight at the bottom, either a small rock or anything else that fits 🙂
Hi!
I love your free standing calendar. I know this has been a bit long already. However, could you elaborate on how exactly to fold it. Cos i am kinda confused. It would be good if there is a video. Thanks.