This prompt is a variation of the hard-cover journal tutorial. This time the journal is teensy-weensy and can easily be carried around in your pocket or your handbag. As an added bonus, the cuteness factor makes you want to actually use it all the time 🙂
Supply –
- Chipboard (a 5×5 piece shall do).
- Needle & thread
- Adhesive – Glue stick & Double sided tape
- Handmade paper (you are going to need 10 pieces measured 2¾x5½ in one color and one piece measured 2¾x6½ in a different color)
- Felt or velvet (adhesive backed) paper in two different colors (for the spine and the covers)
- Silk or satin ribbon
- Paper Piercer
- Brayer
- Cutting mat & Craft Knife
- Bone folder
Instructions –
- Cut 3 pieces of chipboard, measured: 3×3, 3×3 & ¼ x 3 inches.
- Repeat the same process of making the hard-cover journal tutorial for covering up the covers and the spine and then adhering them together.
- Adhere a strip of double sided tape along the middle of the journal’s binding, widthwise, to secure the ribbon on it. Adhere the ribbon and make sure it is long enough to be wrapped around the journal several times, when it’s closed.
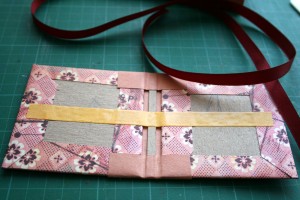
- Cut the handmade paper to size (10 pieces measured: 2¾x5½ and one piece measured 2¾x6½).
- Fold each of the 10 pieces of the handmade paper in half and burnish the fold with the bone folder.
- Score the longer strip of handmade paper at 2¾ on each side, to allow an ½ inch spine in the middle. Burnish the folds with the bone folder.
- Pierce each of the 10 pieces of the handmade paper at the middle of the score line (fold) and again 1 inch to the top and to the bottom of the middle hole. All together, each piece should be pierced three times along the middle fold.
- Pierce the spine of the longer strip of handmade paper, as follows:
°°°°°°°°°°
« 1 inch »
middle °°°°°°°°°°
« 1 inch »
°°°°°°°°°°
Basically what you need to end up with is a corresponding hole to each of the signatures’ holes - Use the needle and thread to sew each separate signature to the spine.
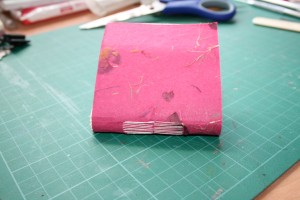
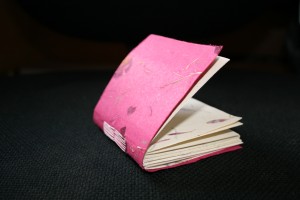
- Attach the bound signatures to the cover of the micro journal, using double sided tape
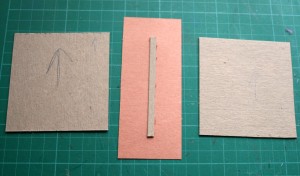
The picture features a different micro-journal, but the technique is the same. I made a bunch of these cute minis and didn’t take pictures of each one separately.
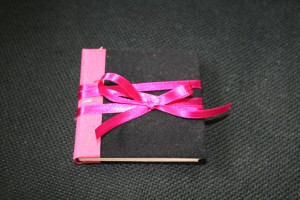
Voilà !
Now, don’t be surprised if the journal starts multiplying …
Consider yourself duly warned 😉
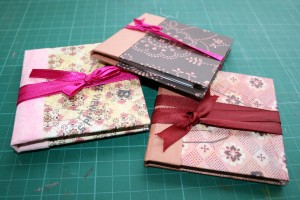
Please share your own micro journal creations with me and don’t hesitate to ask for more information, either by commenting or by using the contact form.
Tags: creativity prompt, DIY, journal


Hi there, I know this is an old post of yours, but thought you might like to know that it inspired the challenge over on my blog and for the subscribers of my Newsletter.
http://sundayldesigns.com/scrapbooking-sketch-and-challenge-for-august-09/
Thank you for your great tutorials.
SundayL
Thanks! Your funky-foam micro-mini is FABULOUS!!!
[…] Making A Teen-Tiny Journal […]